I am so thrilled to finally share with you pictures of my craft room overhaul! It was a LONG project. I truly wanted to do it right and really sort through everything I have. I got rid of boxes and boxes of old supplies that I’ve had for years that I just had to admit that I’d never use. I honestly laughed so many different times as I said to myself “What in the world were you thinking when you bought this?” My sister and I exchanged a lot of texts and phone calls during this process. We both admitted that we have hoarding issues!
So now that I have confessed my issues to you let me share with you a bit of why I decided it was finally time for a good clean out. This is my first year doing Project Life. You can see all of my project life posts for the year so far, HERE. Since starting to document our daily life this way I have really fallen back in love with photographing and journaling. I definitely feel that I had lost my passion for recording our family history because of the tremendous amount of guilt I had because I was behind. I also think I was documenting just the big events in our lives such as birthdays, major holidays, and bigger life events. Project Life has made me realize that the everyday is not ordinary, it is EXTRAORDINARY! I love documenting the simple everyday things like the movies we see, where we eat, what snacks the kids are enjoying right now, and what we read. The four of us have also looked at our project life albums more than any other album I’ve ever made. LOVE that!
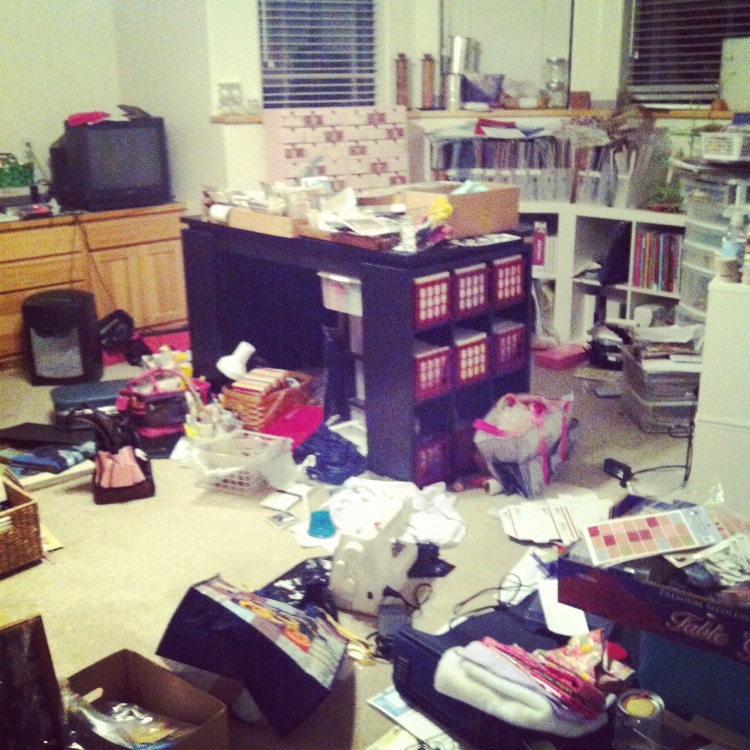
Because I realize that Project Life is the only way I want to document our lives from here on out, I realized it was time to let go of the stuff I just won’t use in my albums. So began “project overhaul”. If you remember, one of the items on my September Sort-It list was: create a functional project life station. My craft area was complete chaos. I was sure that if anyone fell in there that we might not ever find them. Below is a picture of what my room looked like at the beginning. Don’t be jealous!
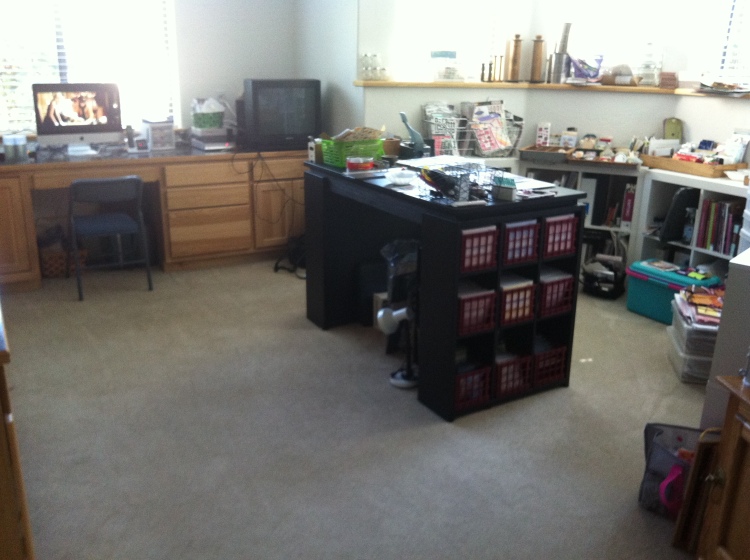
I know right! Total chaos. Well, after hours and hours of sorting, purging, and organizing here are a few pictures of what my overall room looks like now.
I get a lot of questions on how I organize ribbon, embellishments, project life core kits, journal cards, stickers, etc. So today I’m going to show you a bunch of different pictures of my various stations. This is going to be picture heavy so I’m going to keep my explanations to a minimum, but don’t hesitate to ask any questions in the comment section.
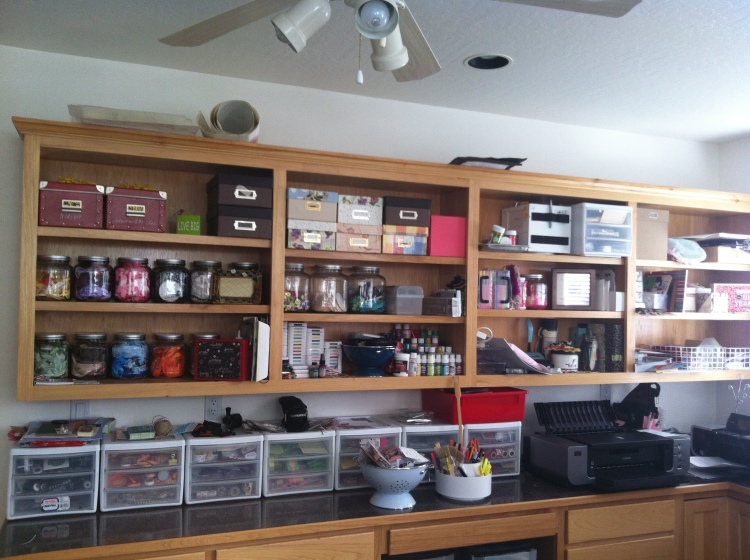
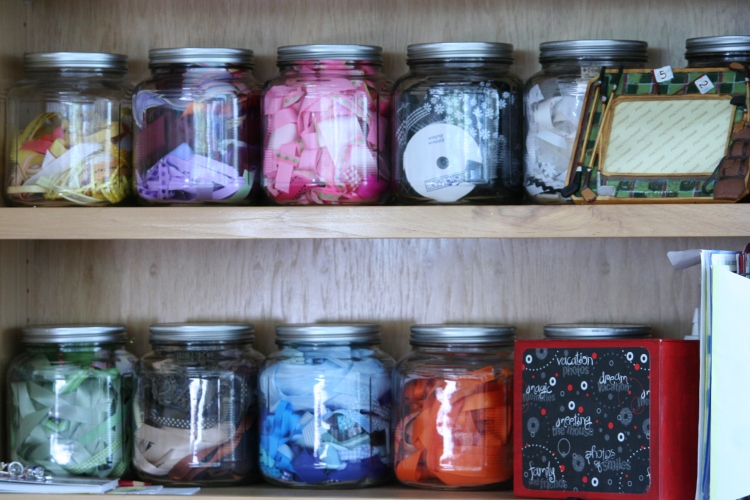
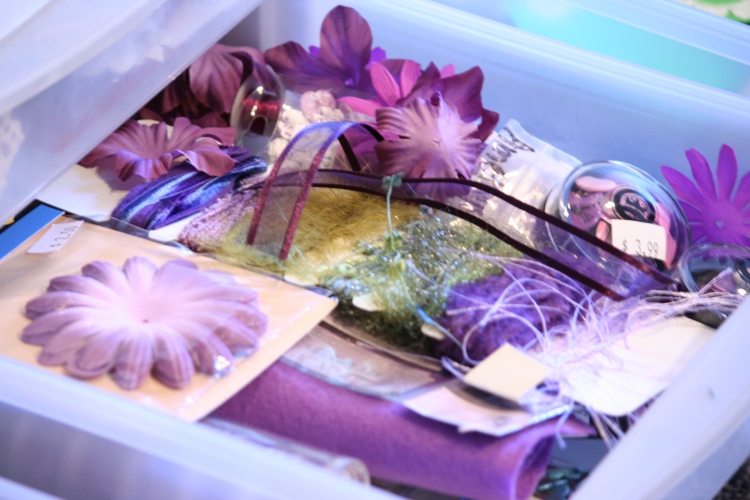
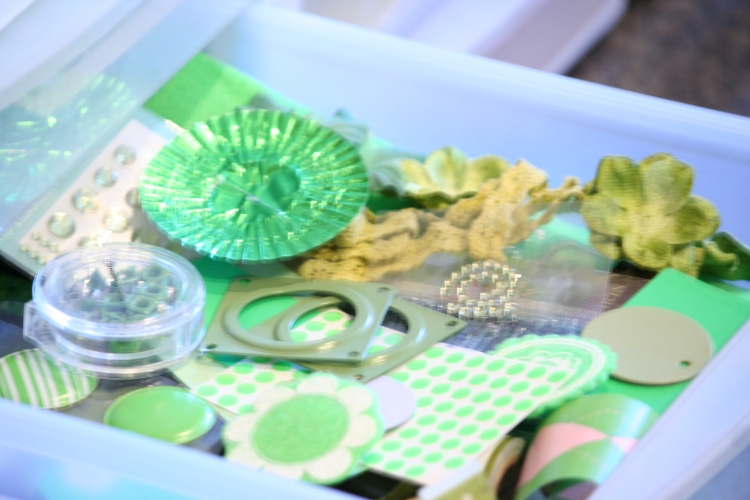
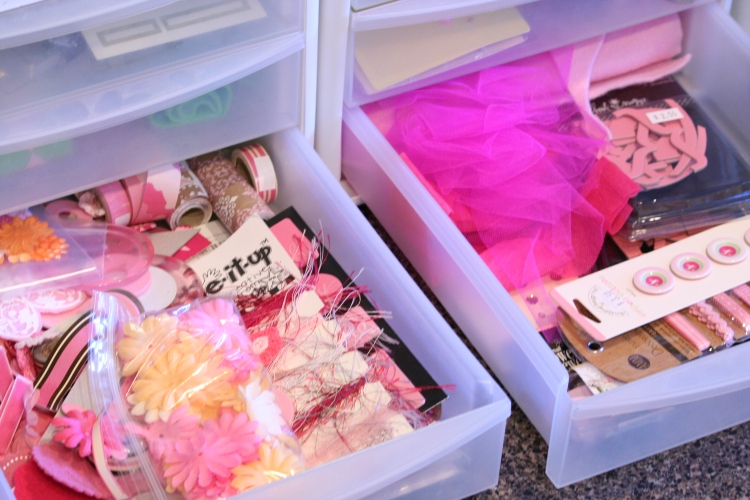
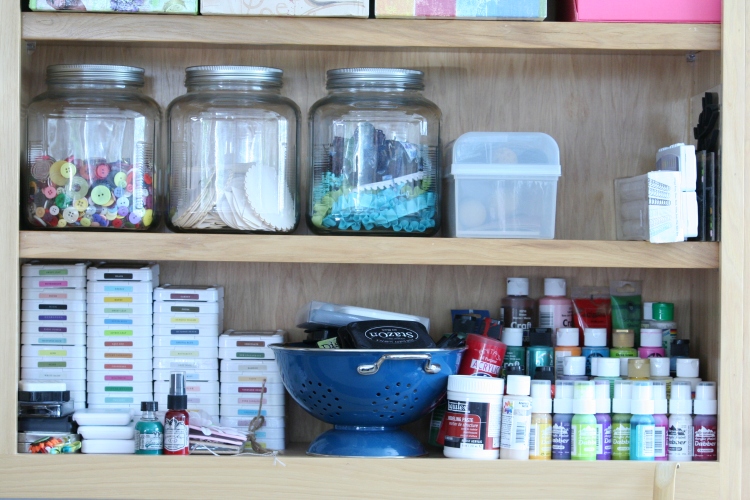
I organize all of my ribbon and embellishments by color. I’ve been doing this for years and love this way of organizing. My ribbon jars sit on the shelves that are pictured above.
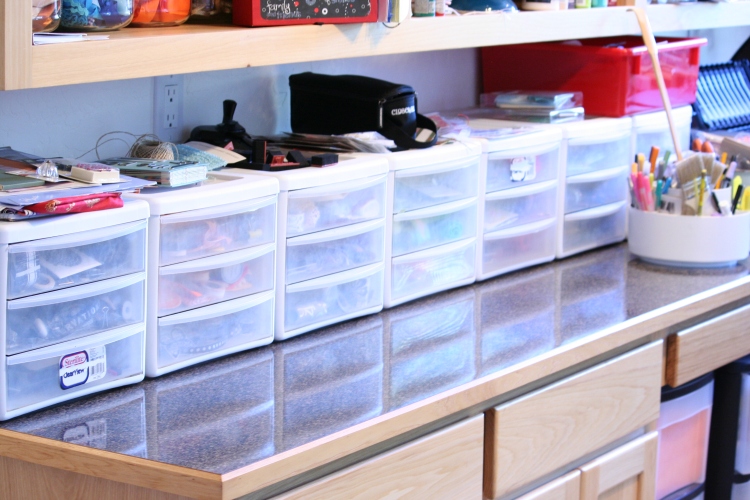
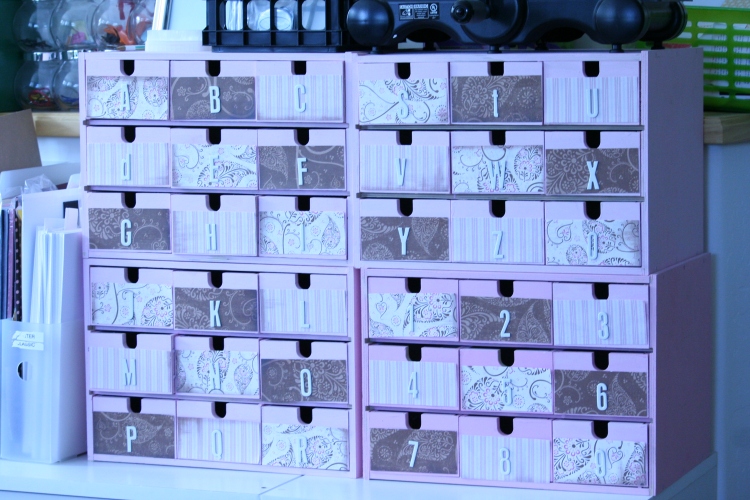
During the reorganization of my supplies I moved all my colored embellishments from small rubber containers to the drawers you see on the counter below.
There is a drawer for each color. Some colors have 2 drawers.
I have a shelf for all of my ink pads, paints, and misters. Right above that I keep a jar full of buttons. I don’t separate those by color. There is just something about a big jar of colorful buttons that makes me smile!
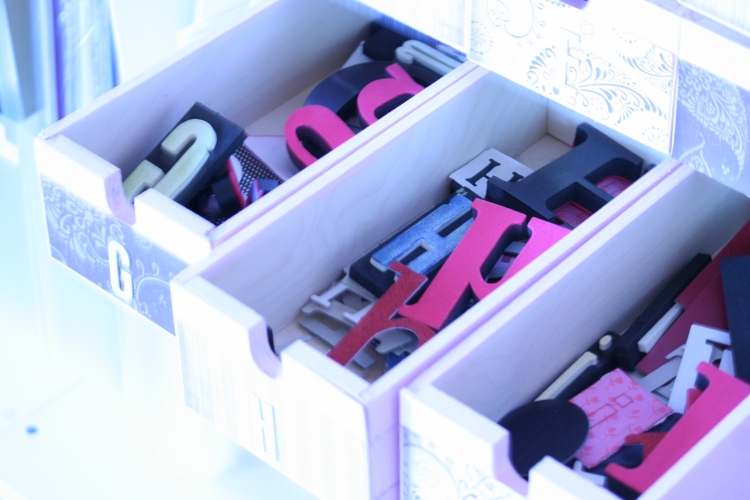
I also bought drawers from IKEA years ago to use for my alphabets and numbers. They were a doozy to put together but I love the functionality of them. There is a drawer for each letter and number. It was a lot of work at first but I love having them organized this way.
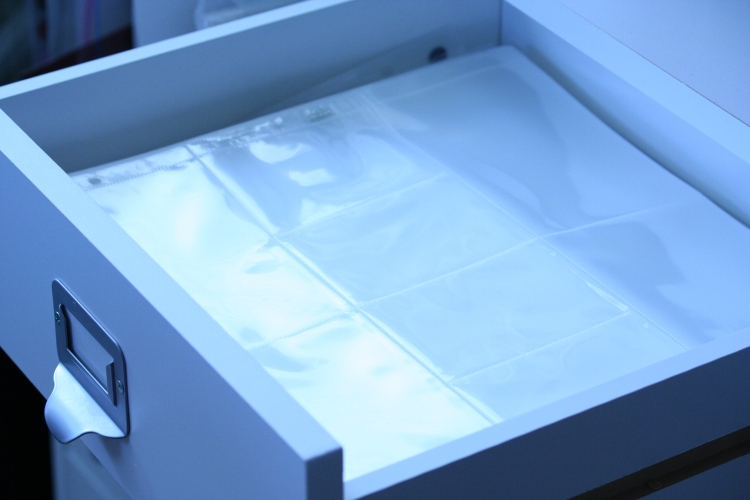
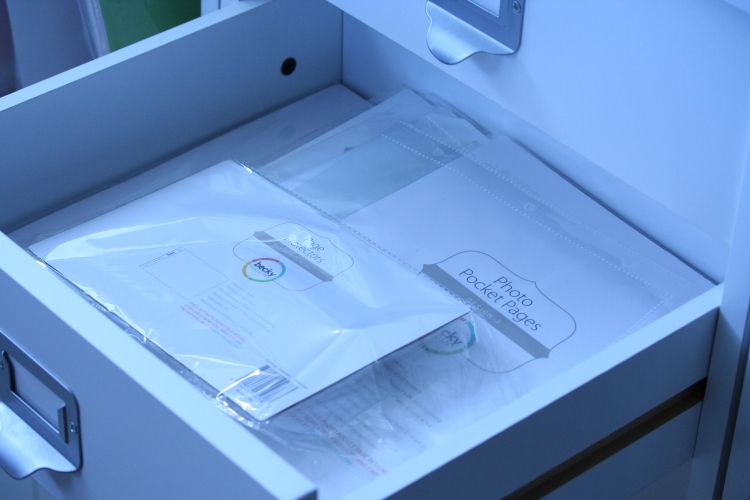
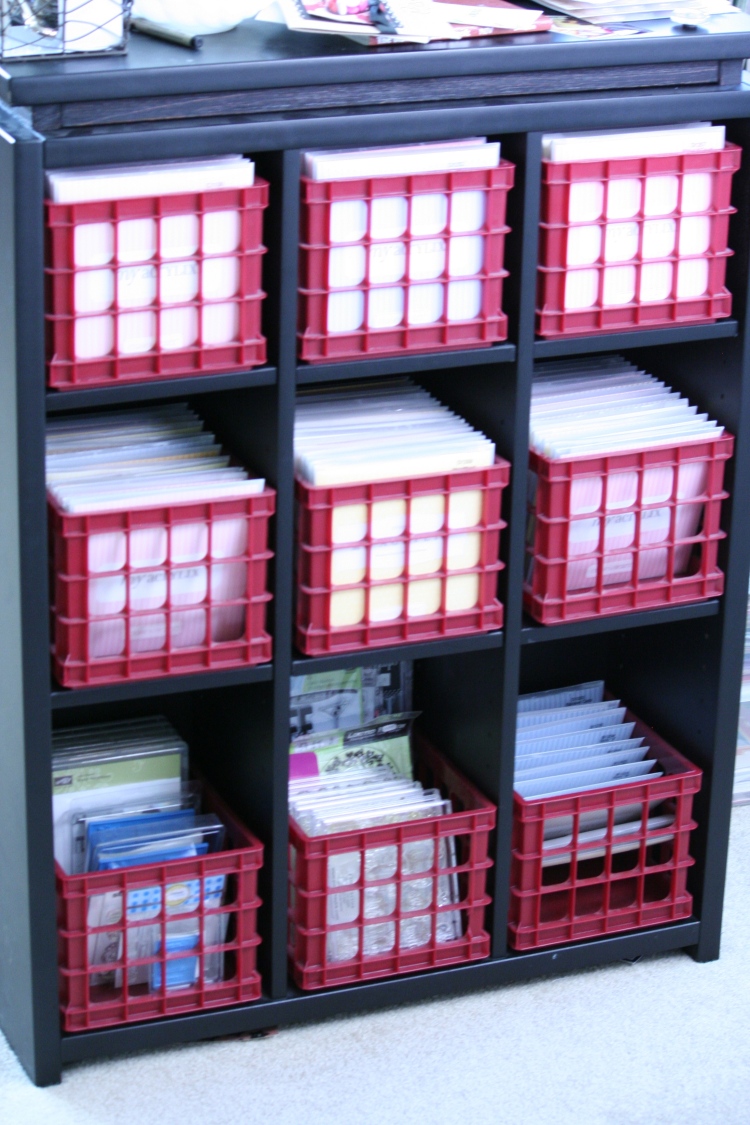
The letter drawers sit on top of several cubed drawer systems. Several of these drawers house my project life page protectors. I have one drawer for the 12×12 designs.
All the other sizes are in the drawer below.
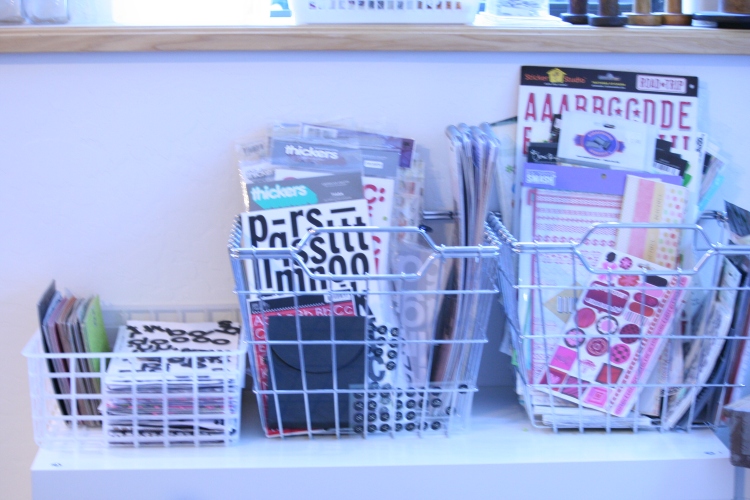
On top of the shelves behind my desk are various stations. I love that I can turn around and have everything at my fingertips. The first station has baskets with all my letters (stickers, rub-ons, etc.) as well as word stickers.
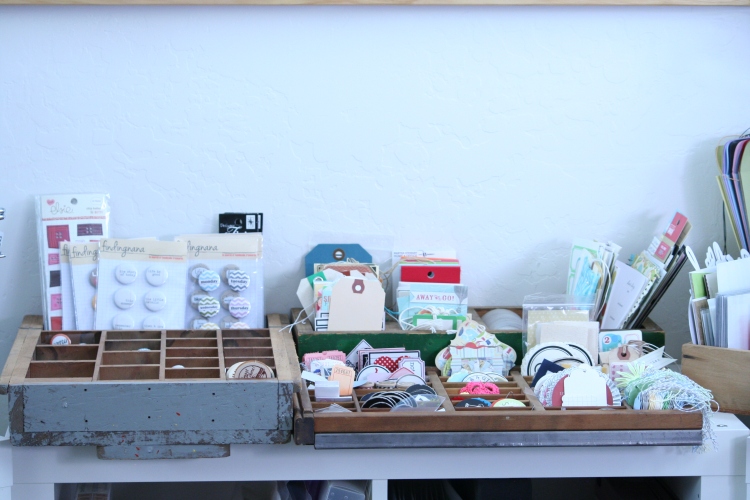
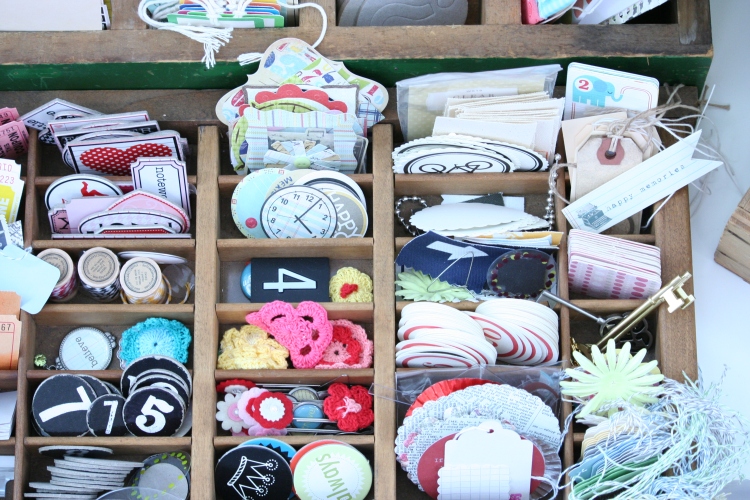
The next shelf holds several different vintage trays that I’ve picked up from various places.
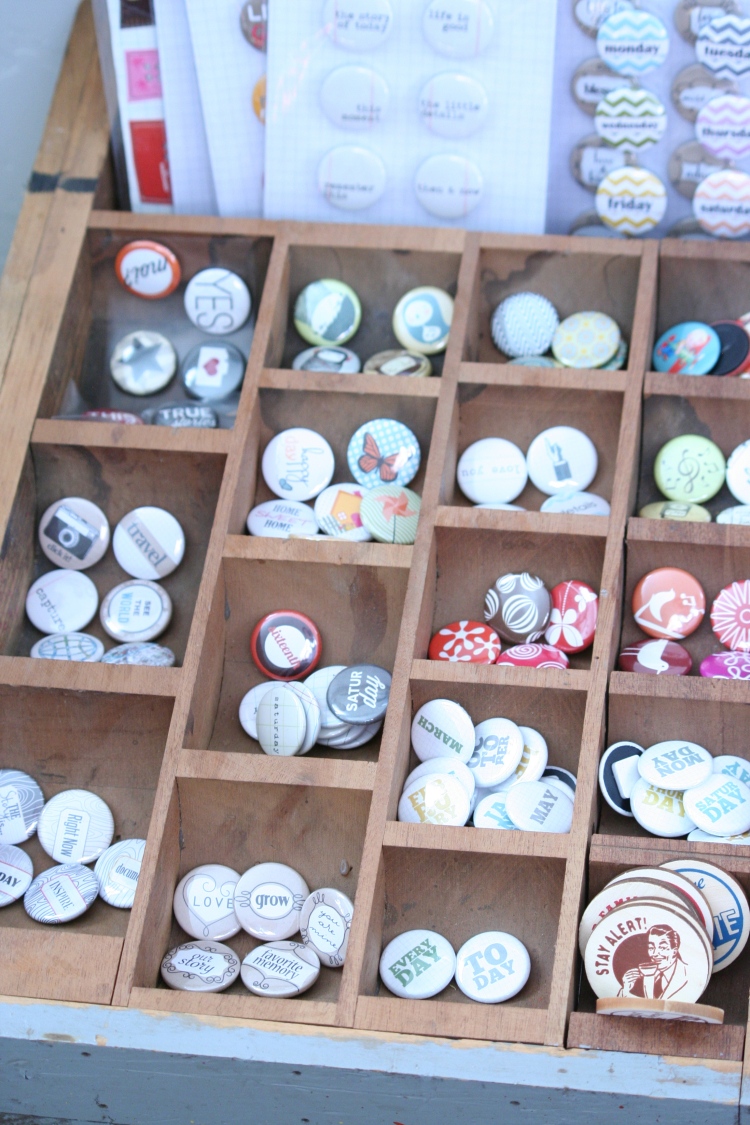
The gray box holds all of my flair buttons. As you can see, I am a HUGE fan of the buttons Leena over at Finding Nana makes. You can see her shop HERE.
The little letterpress tray holds various project life goodies. (I’m going to move the numbers over to the drawers where they belong!)
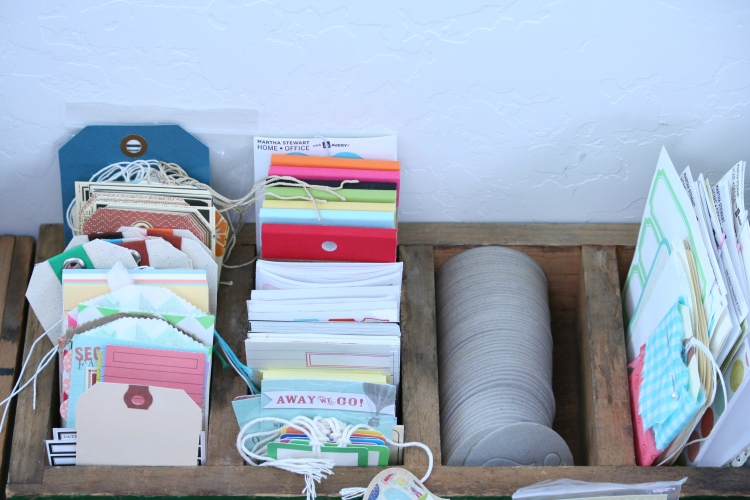
The smaller green box in the back holds various tags, labels, and journal cards.
The next station holds the old, wooden silverware box that you may have seen from this post. It houses the supplies from the PL core kits that are 4×6 in size. I also designated several areas to smaller stamps.
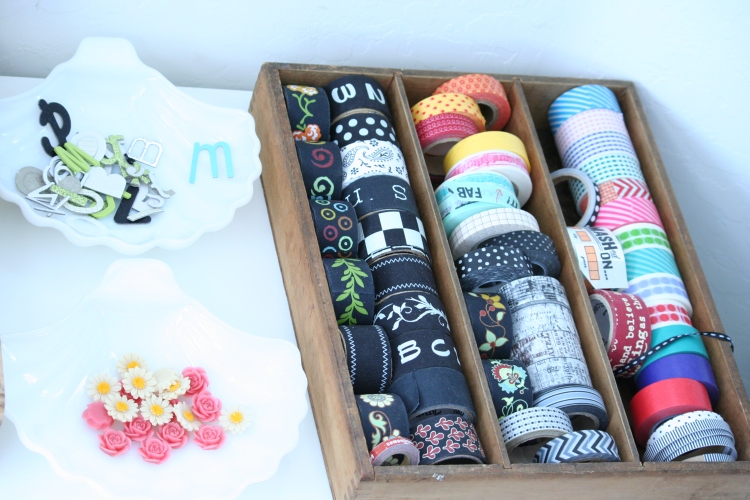
This shelf also holds a couple of shell dishes I picked up at an antique shop as well as my box of washii tape.
I bought my desk from Pier 1 Imports about 8 years ago. I love the heigth and the little cubbies on the side which houses my sets of acryllic stamps.
This isn’t the best shot of my desk top but it will have to do.
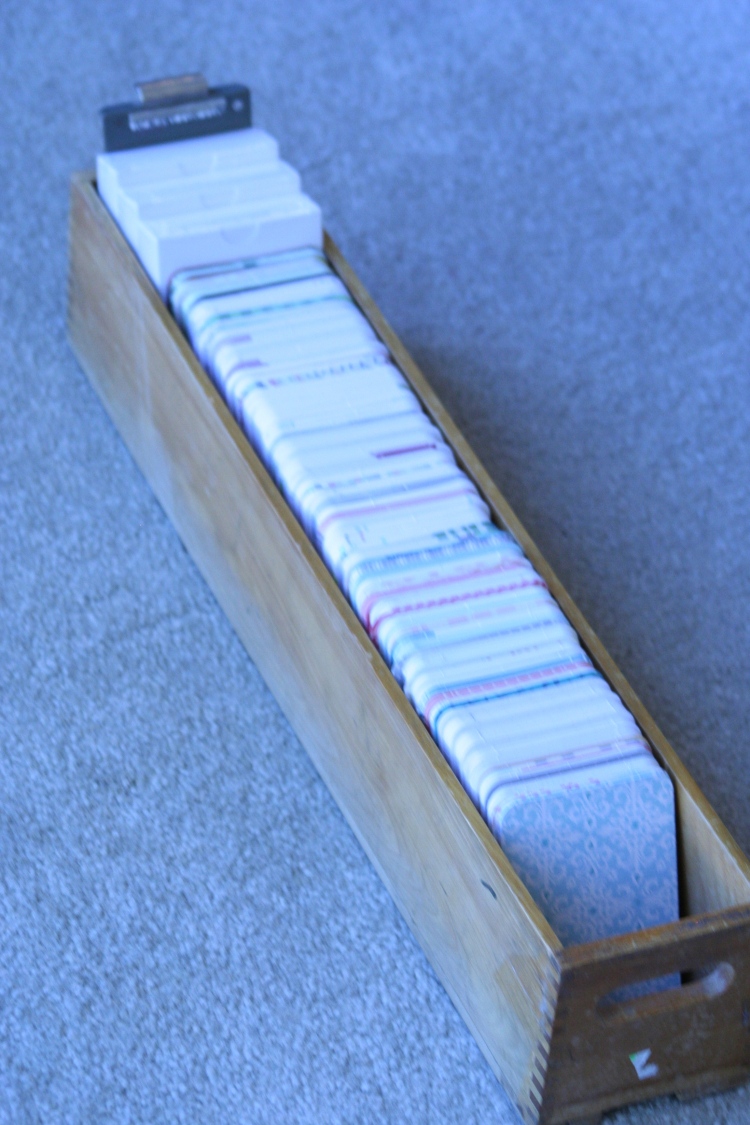
I keep my album, paper trimmer, industrial corner rounder, a basket containing necessary supplies (tiny attacher, scissors, adhesive), and an old library card catalog box that has all my PL journaling cards. Below is a close-up of that card box.
So there you have it! Like I said, very picture heavy, but I hope it has given you some good ideas. If you have any questions, please either leave them in the comments or shoot me a message. My e-mail is in the upper right hand corner of my blog.
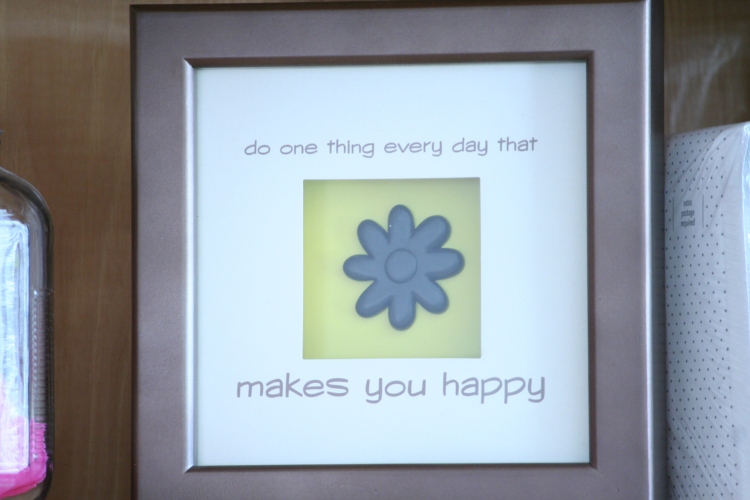
I’ve loved being back in my creative space now that it is clean and organized. I try to spend a little bit of time each day in here. Whether it be printing pictures or putting my thoughts down on journaling cards. The picture below sits on my shelf in the craft room. It makes me smile.
Here’s to a productive week!
Make it great!
JuJu
Project Life was created by Becky Higgins as a simple solution to documenting your memories. You can learn more about project life here.


Inspiring
Thanks Joy!
Hooray for clean and organized! Your space looks great Julie!! I adore all of your storage containers. 🙂
Thanks Nicole! It feels so good to have everything organized and to have purged what I just don’t need.
WOW this is amazing. I’m in the process of setting up a basic bookcase for craft supplies and now immediately want to stop, buy a gazillion containers and trays, and then all the things to put in them, and then maybe have to get a new house so that I fit it all in. So jealous! It looks lovely.
I love you!!!! Your Washi tape box makes me SOOOO happy!!! I want to come craft with you 🙂 🙂 xoxo
Came across your blog while searching for inspiration to reorganize my craft room. Awesome job! Love the sorting by color and the letter press trays. Thank you for sharing 🙂
Pingback: Project Life: Week 4 and Organization « I am JuJu!
Wow! What a great art room you have!! Thank you for sharing your organization with us…gives me some ideas. 🙂
Thanks for sharing all of your organization and beautiful PL pages. I was wondering: I don’t have nearly as much “stuff” as you (little jealous though!) and I am just starting to scrap PL style, but not by the week. I’ve just determined that I am so behind in traditional scrapbooking that it is making me crazy. I plan on using PL to supplement my traditional since I can just add either format into d ring binders. I see most people are organizing PL by color, journal blocks etc. I was thinking of keeping them by theme so that I could find matching colors. I don’t own any core kits and don’t plan on buying them. I have bought numerous “theme” sets from different manufacturers. Will it make it harder keeping them by theme? I’m freaking out a little bit. What if one side of a card has a pencil on it for school and the other side is red check? Help!