Project Life 2013: Weeks 24 & 26 and Updated Organization

Welcome to Project Life Tuesday!  I have two weeks to share with you today.  I really enjoyed my time in my craft space this week printing out my pictures & putting my pages together.  I used a mix of the Honey, Blush, Seafoam, & Jade editions.  Yes, I know, I have an issue.  If you have any specific questions on my layouts, please leave them in the comments.  Also, at the end of this post, I’m sharing how I store all my Project Life editions together.

Week 24

IMG_3133

IMG_3135

IMG_3136

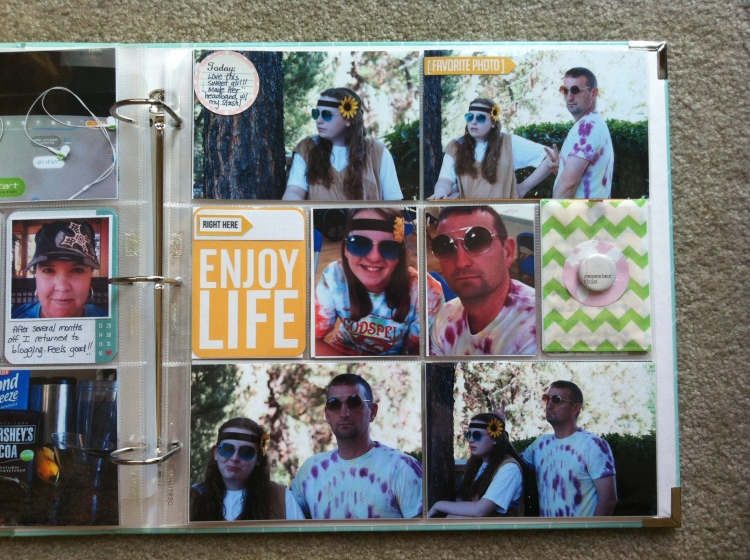
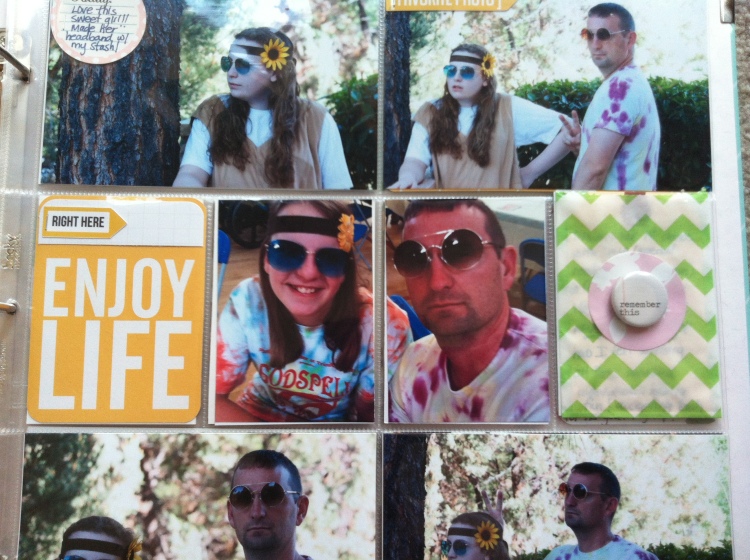
This was the week we attended the 60’s themed dance for our local special needs program.  We had such a great time.  You can read more about the dance & see the rest of our pictures HERE.  I also continue to love using tidbits from Finding Nana’s shop on my pages.

IMG_3137

Week 26

IMG_3138

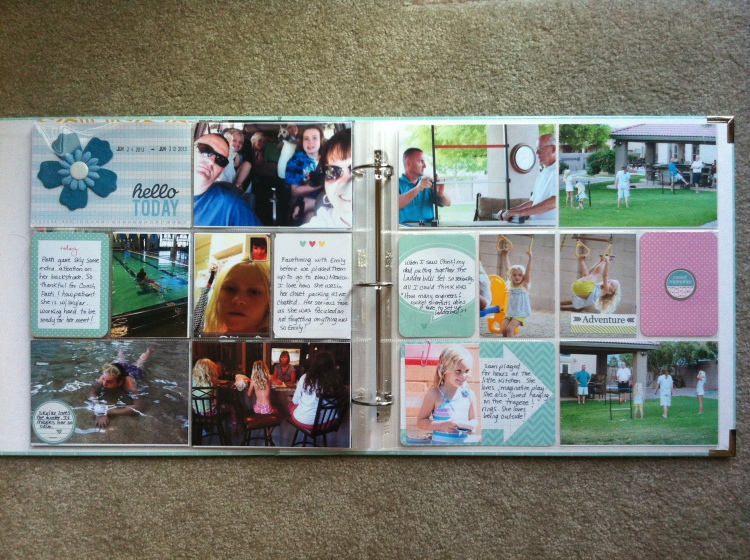
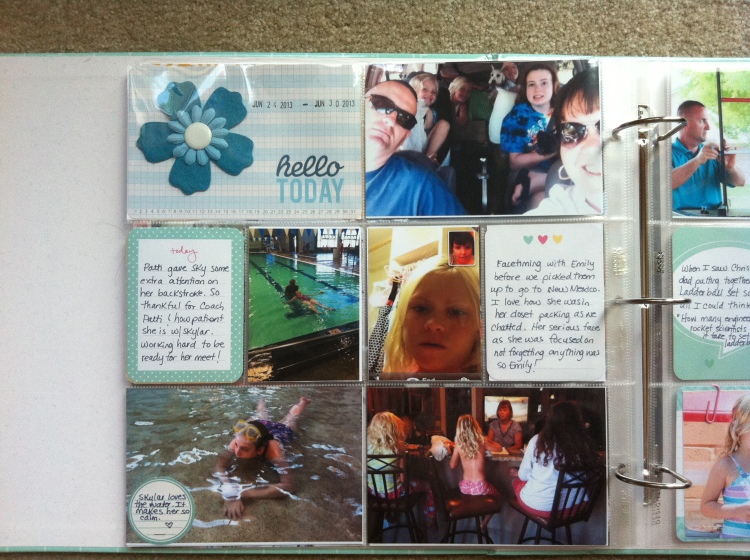
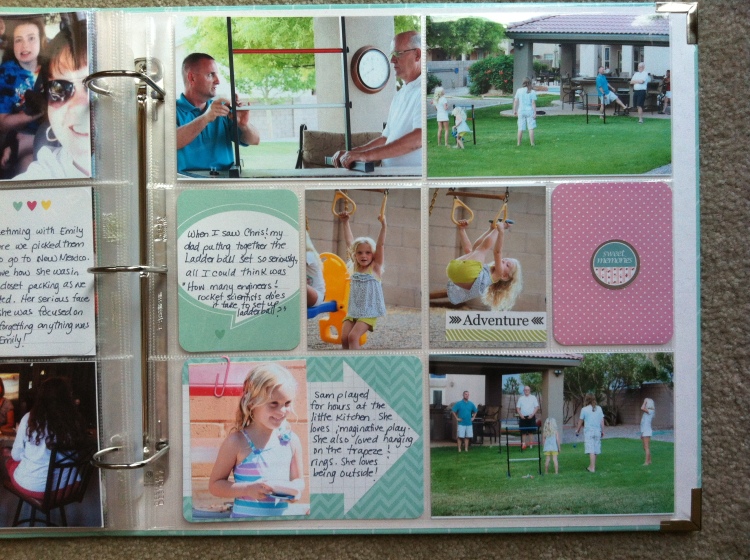
Week 26 covers the first part of trip to New Mexico to see my folks.  We took 2 of my sister’s kids with us so we had a car full.

IMG_3139

IMG_3140

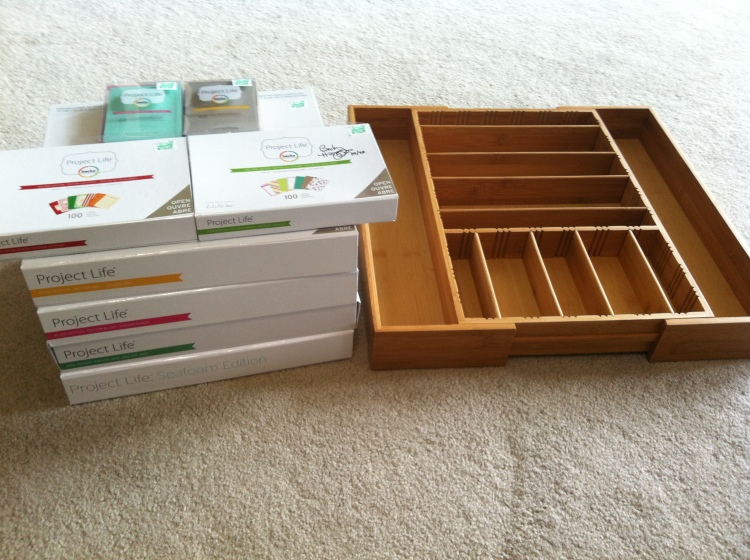
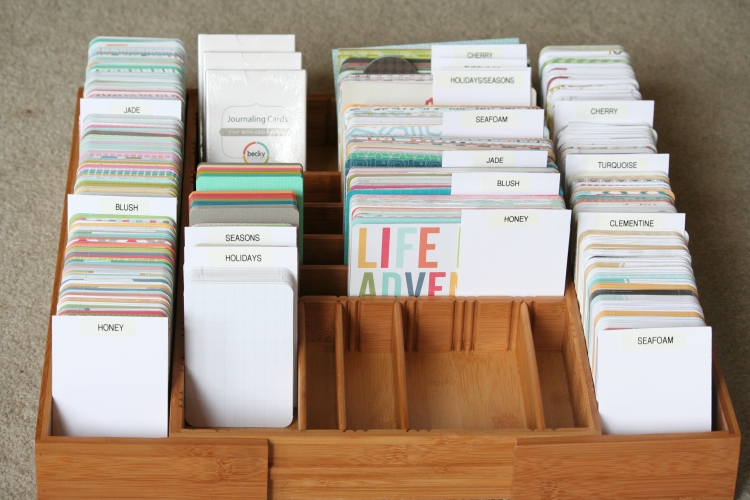
Many of you might remember this post that I did where I shared how I organize my Project Life cards.  That box was a great way to organize & I still utililize it for other tidbits.  However, with the introduction of so many great kits & my overwhelming desire to own multiple kits, I needed a bigger box to keep all my core kits together.  I already had the cherry & turqouise kits and last year I purchased & primarily used the Clementine kit.  This year I bought the Seafoam edition, the Jade edition through HSN & then recently picked up the Honey and Blush editions at Hobby Lobby.  I know, overkill!  HOWEVER….I love having so many options.

Last month I picked up a couple of bamboo silverware drawer organizers from Costco.  When I bought them I didn’t even realize that they slid out to provide an even bigger box.  I used one in my actual silverware drawer & I love it.  This past weekend I realized that I was struggling with sifting through the individual kit boxes while trying to work on my pages.  I decided to put all the kits together & organize them in my new tray.

IMG_3115

With the help of my Brother P-touch labeler that I have had for 12 years, I was able to organize & label all the individual kits.  I’m really pleased with how it turned out!

IMG_6041

Putting all the kits right here at my fingertips has made me realize how much many of the kits mix & match really well!  I’m currently working on a visual way to see what cards are in each kit.  I will share that as soon as I’m done.  I tend to share on Instagram first, so feel free to follow me on Instagram HERE.  You can also follow me on Pinterest HERE.

Thanks for stopping by, I am also linking up with The Mom Creative.  Check out all the other great Project Life pages shared.

You can see my previous project life posts here.

Make it great!

JuJu

Project Life was created by Becky Higgins as a simple solution to documenting your memories.  You can learn more about project life here.

Craft Room Organization: Creating a Functional Project Life Station

I am so thrilled to finally share with you pictures of my craft room overhaul!  It was a LONG project.  I truly wanted to do it right and really sort through everything I have.  I got rid of boxes and boxes of old supplies that I’ve had for years that I just had to admit that I’d never use.  I honestly laughed so many different times as I said to myself “What in the world were you thinking when you bought this?”  My sister and I exchanged a lot of texts and phone calls during this process.  We both admitted that we have hoarding issues!

So now that I have confessed my issues to you let me share with you a bit of why I decided it was finally time for a good clean out.  This is my first year doing Project Life.  You can see all of my project life posts for the year so far, HERE.  Since starting to document our daily life this way I have really fallen back in love with photographing and journaling.  I definitely feel that I had lost my passion for recording our family history because of the tremendous amount of guilt I had because I was behind.  I also think I was documenting just the big events in our lives such as birthdays, major holidays, and bigger life events.  Project Life has made me realize that the everyday is not ordinary, it is EXTRAORDINARY!  I love documenting the simple everyday things like the movies we see, where we eat, what snacks the kids are enjoying right now, and what we read.  The four of us have also looked at our project life albums more than any other album I’ve ever made. LOVE that!

Because I realize that Project Life is the only way I want to document our lives from here on out, I realized it was time to let go of the stuff I just won’t use in my albums.  So began “project overhaul”.  If you remember, one of the items on my September Sort-It list was:  create a functional project life station.  My craft area was complete chaos.  I was sure that if anyone fell in there that we might not ever find them.  Below is a picture of what my room looked like at the beginning.  Don’t be jealous!
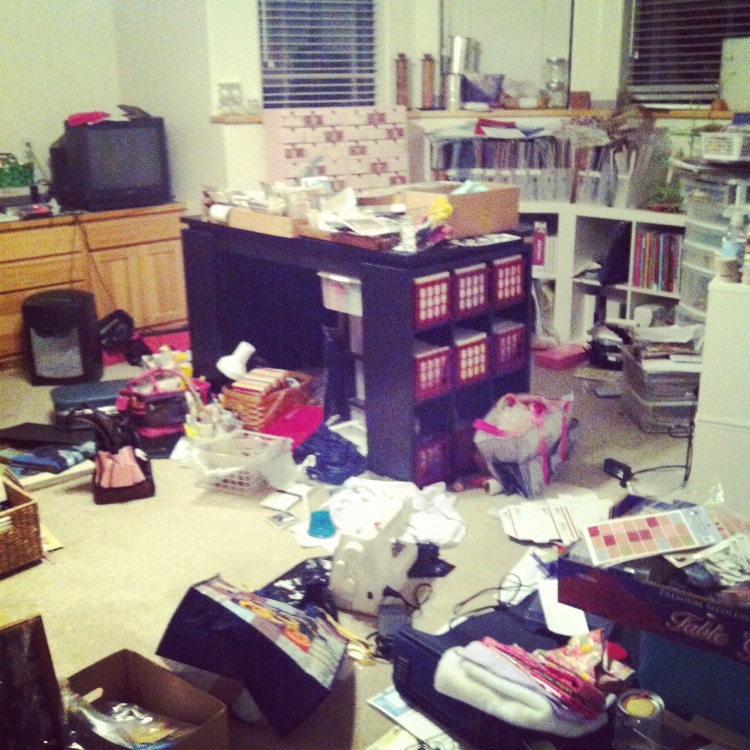
I know right!  Total chaos.  Well, after hours and hours of sorting, purging, and organizing here are a few pictures of what my overall room looks like now.
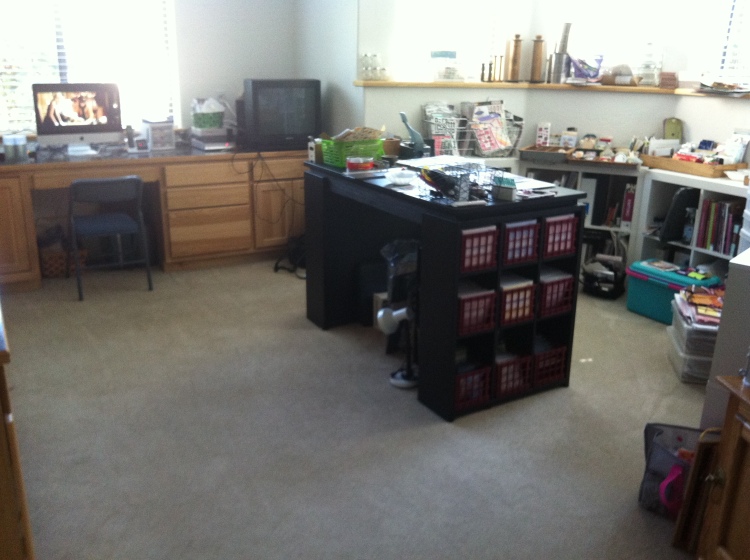
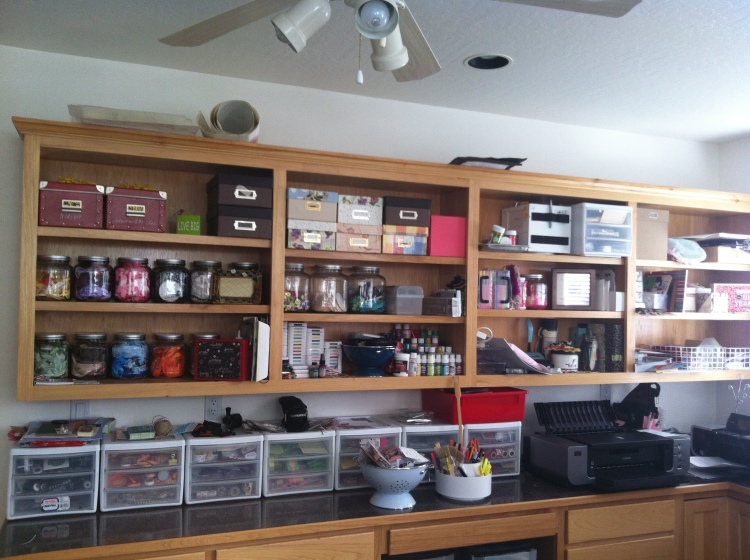
I get a lot of questions on how I organize ribbon, embellishments, project life core kits, journal cards, stickers, etc.  So today I’m going to show you a bunch of different pictures of my various stations.  This is going to be picture heavy so I’m going to keep my explanations to a minimum, but don’t hesitate to ask any questions in the comment section.

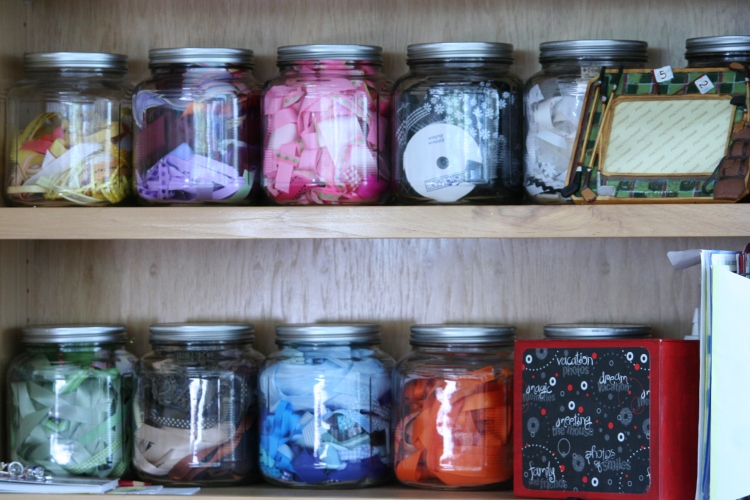
I organize all of my ribbon and embellishments by color.  I’ve been doing this for years and love this way of organizing.  My ribbon jars sit on the shelves that are pictured above.
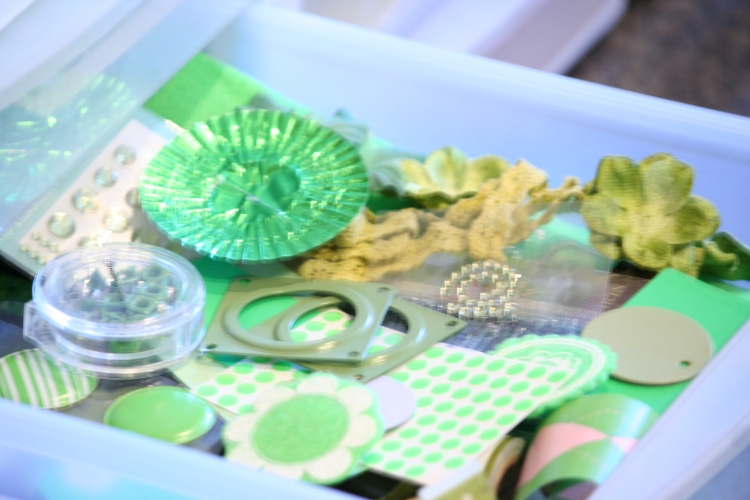
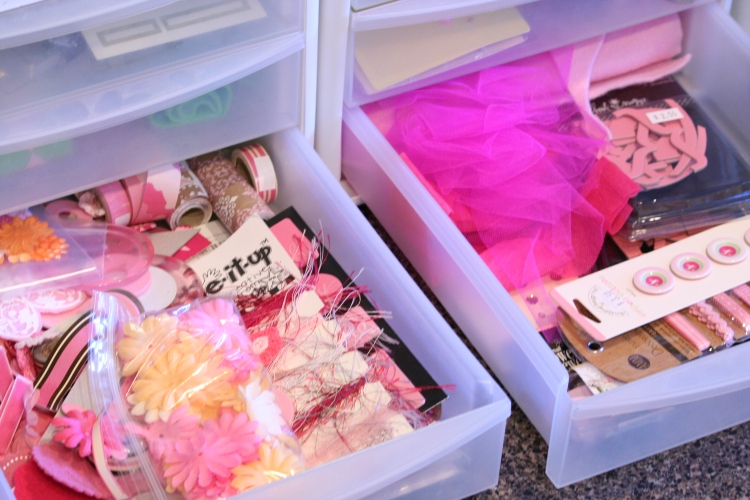
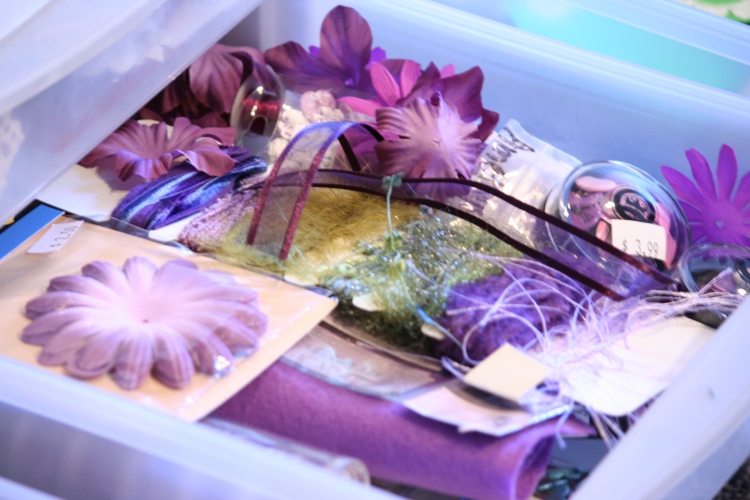
During the reorganization of my supplies I moved all my colored embellishments from small rubber containers to the drawers you see on the counter below.
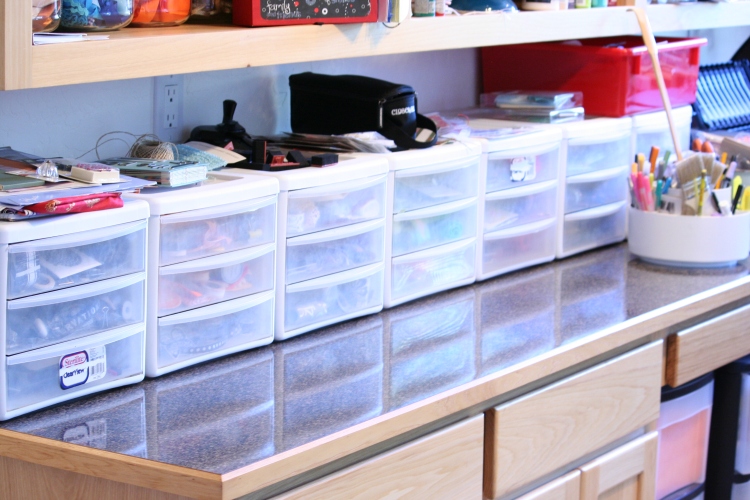
There is a drawer for each color.  Some colors have 2 drawers.
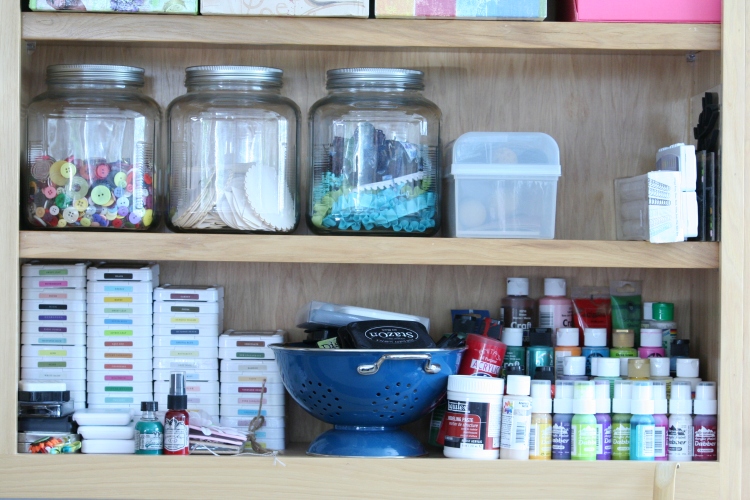
I have a shelf for all of my ink pads, paints, and misters.  Right above that I keep a jar full of buttons.  I don’t separate those by color.  There is just something about a big jar of colorful buttons that makes me smile!
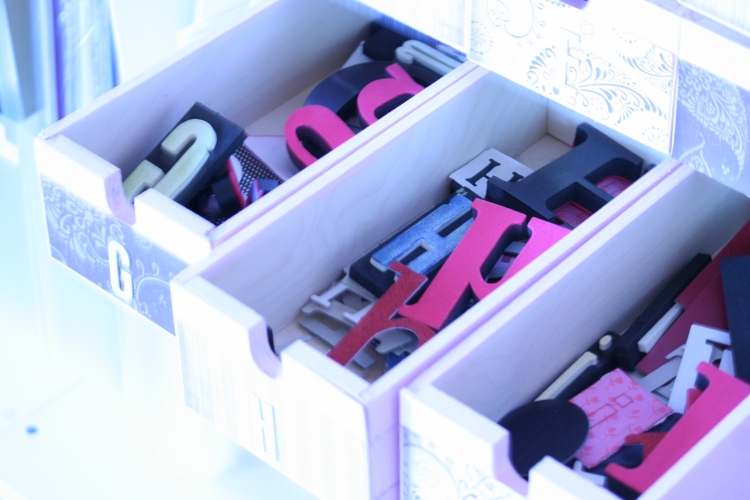
I also bought drawers from IKEA years ago to use for my alphabets and numbers. They were a doozy to put together but I love the functionality of them.  There is a drawer for each letter and number.  It was a lot of work at first but I love having them organized this way.
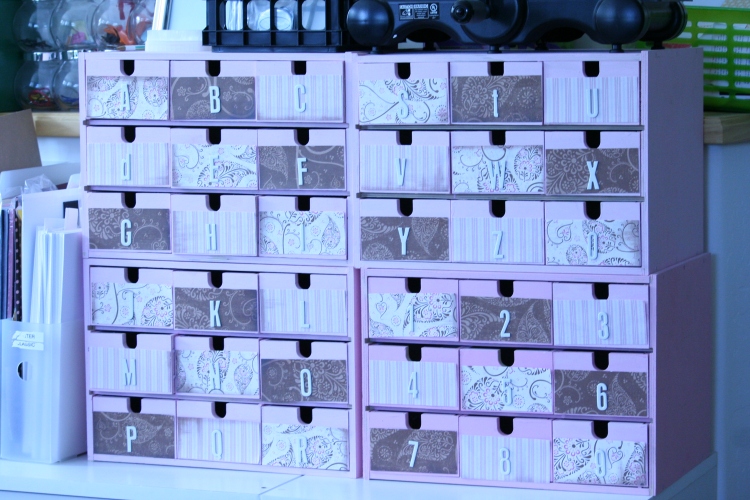
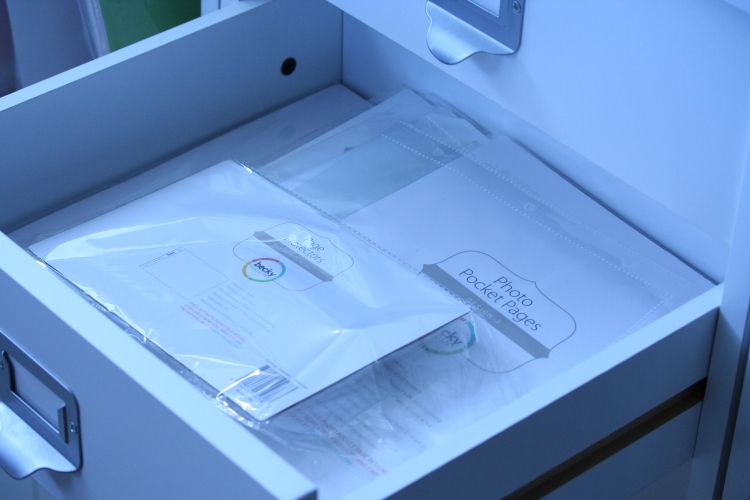
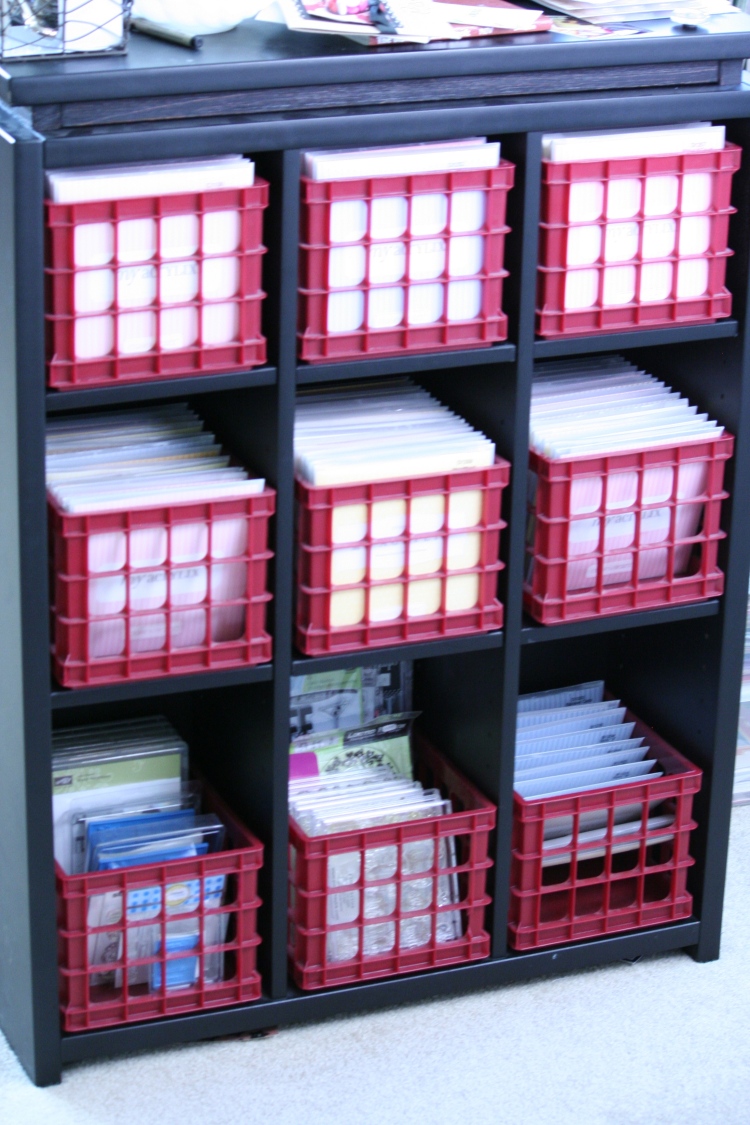
The letter drawers sit on top of several cubed drawer systems.  Several of these drawers house my project life page protectors.  I have one drawer for the 12×12 designs.
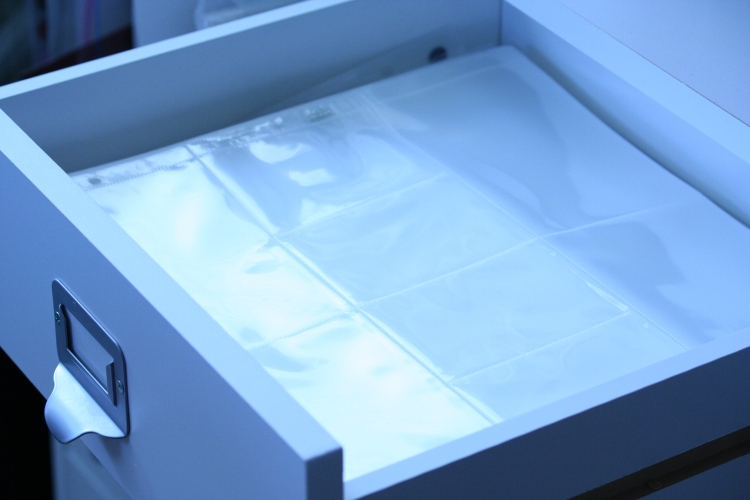
All the other sizes are in the drawer below.
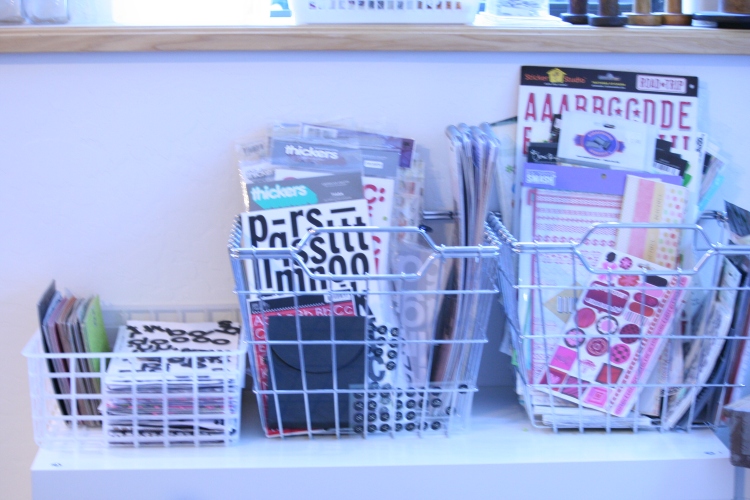
On top of the shelves behind my desk are various stations.  I love that I can turn around and have everything at my fingertips.  The first station has baskets with all my letters (stickers, rub-ons, etc.) as well as word stickers.
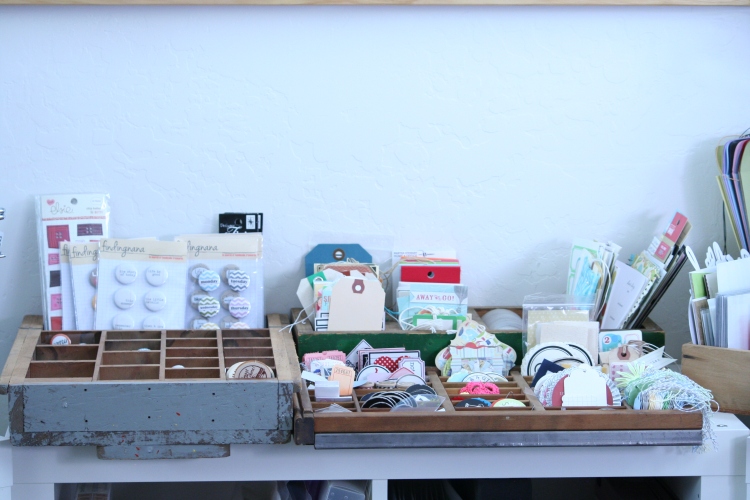
The next shelf holds several different vintage trays that I’ve picked up from various places.
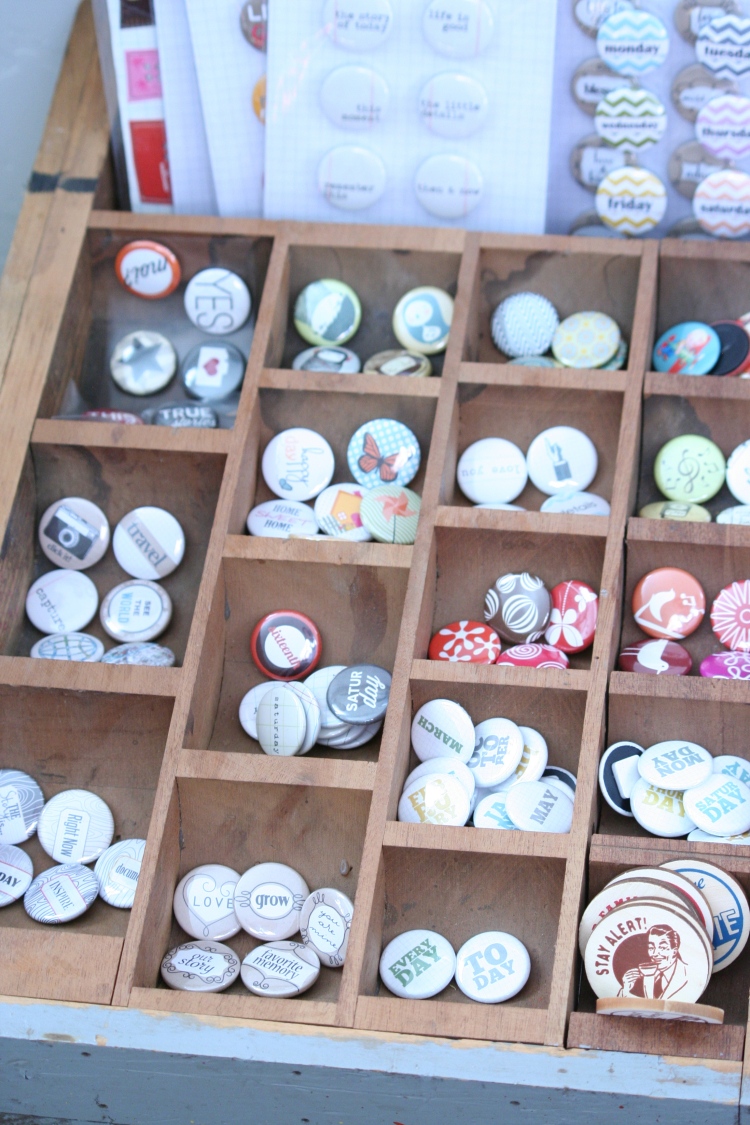
The gray box holds all of my flair buttons.  As you can see, I am a HUGE fan of the buttons Leena over at Finding Nana makes.  You can see her shop HERE.
The little letterpress tray holds various project life goodies.  (I’m going to move the numbers over to the drawers where they belong!)
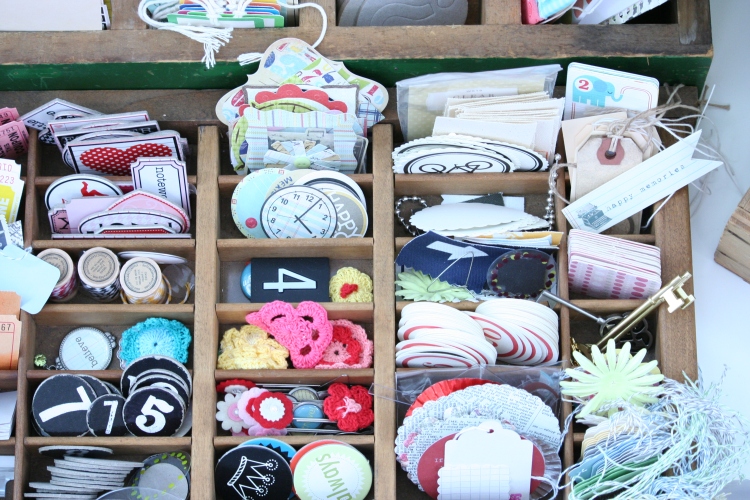
The smaller green box in the back holds various tags, labels, and journal cards.
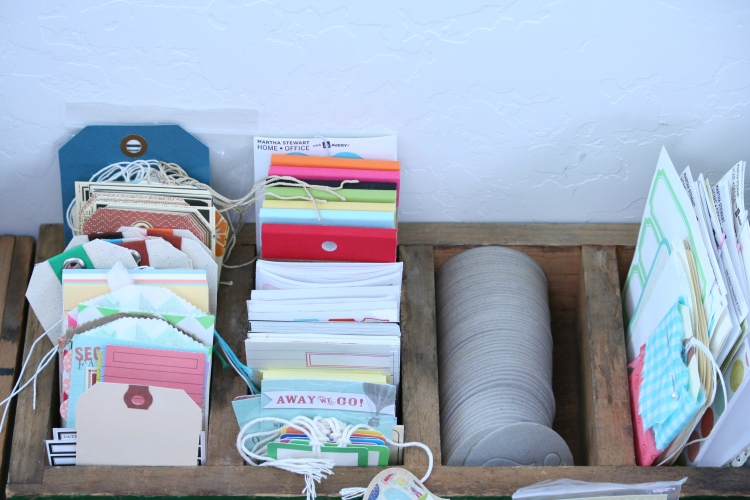
The next station holds the old, wooden silverware box that you may have seen from this post.  It houses the supplies from the PL core kits that are 4×6 in size.  I also designated several areas to smaller stamps.

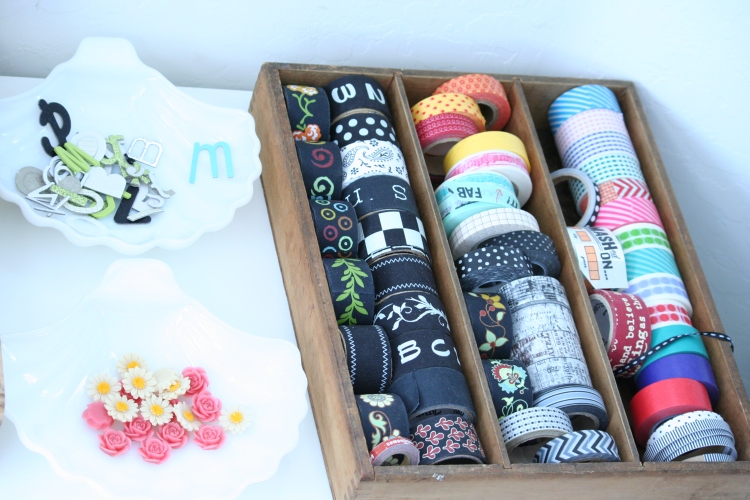
This shelf also holds a couple of shell dishes I picked up at an antique shop as well as my box of washii tape.
I bought my desk from Pier 1 Imports about 8 years ago.  I love the heigth and the little cubbies on the side which houses my sets of acryllic stamps.
This isn’t the best shot of my desk top but it will have to do.

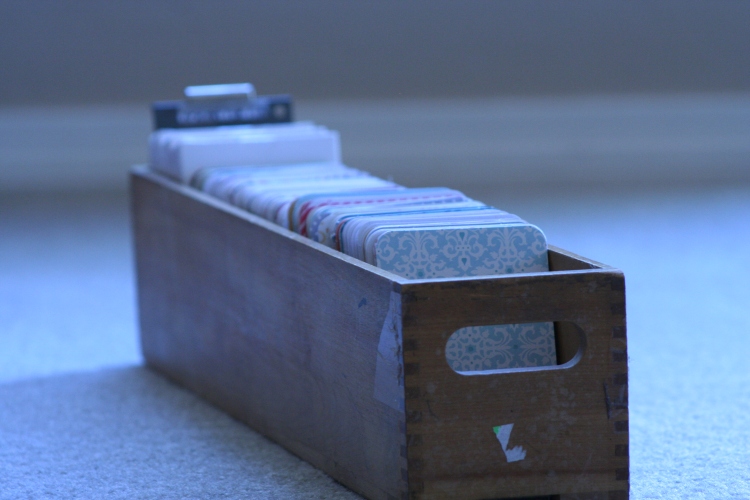
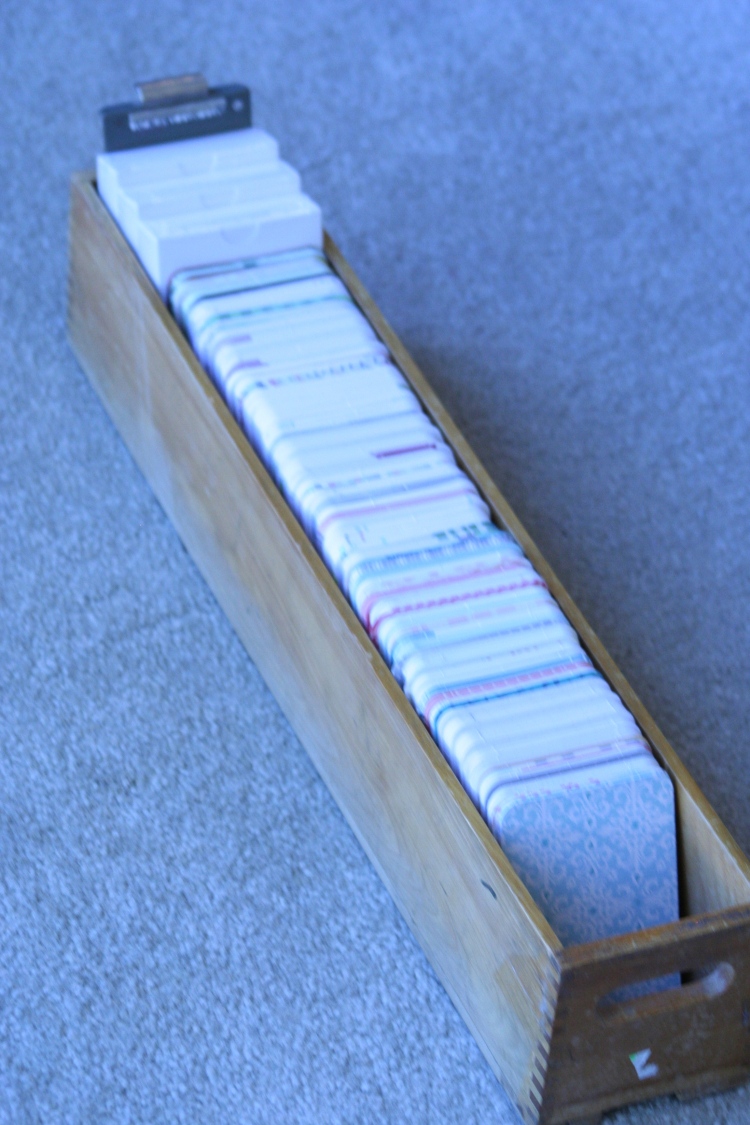
I keep my album, paper trimmer, industrial corner rounder, a basket containing necessary supplies (tiny attacher, scissors, adhesive), and an old library card catalog box that has all my PL journaling cards.  Below is a close-up of that card box.
So there you have it!  Like I said, very picture heavy, but I hope it has given you some good ideas.  If you have any questions, please either leave them in the comments or shoot me a message.  My e-mail is in the upper right hand corner of my blog.

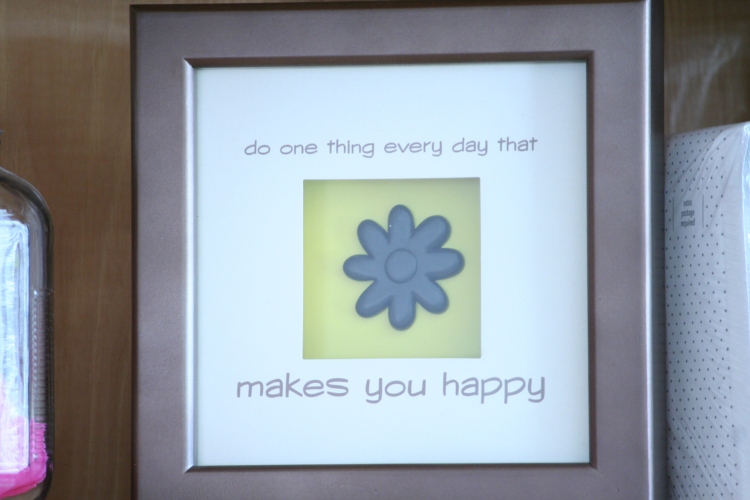
I’ve loved being back in my creative space now that it is clean and organized.  I try to spend a little bit of time each day in here.  Whether it be printing pictures or putting my thoughts down on journaling cards.  The picture below sits on my shelf in the craft room.  It makes me smile.
Here’s to a productive week!

Make it great!

JuJu

Project Life was created by Becky Higgins as a simple solution to documenting your memories.  You can learn more about project life here.
Project Life: Week 8

It’s hard to believe that we are already 8 weeks into 2012.  Time is flying by!  I am still LOVING documenting our everyday lives with Project Life.  I kept things pretty simple this week.  I love that with Project Life you can do as much or as little as you want. I have quite a few pictures & links to share with you so let’s get on with it!

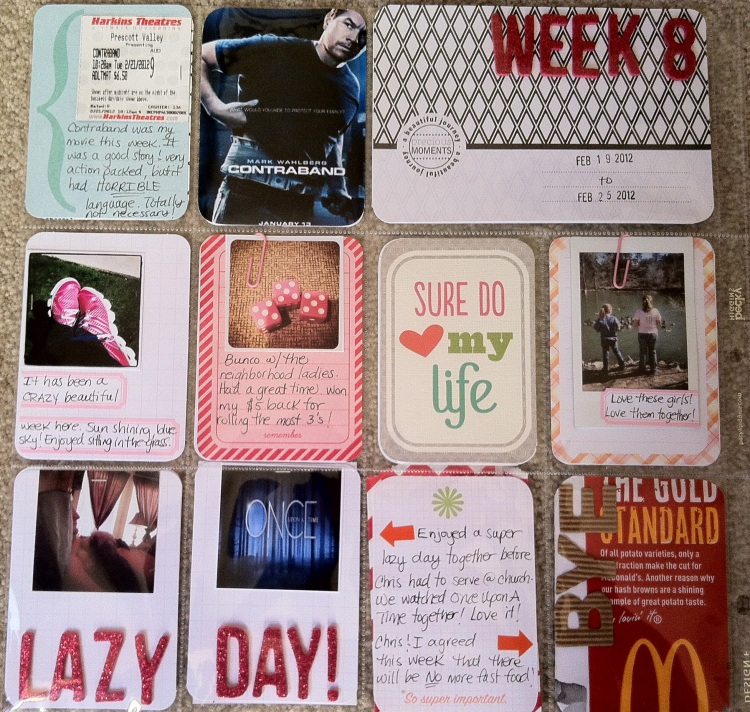
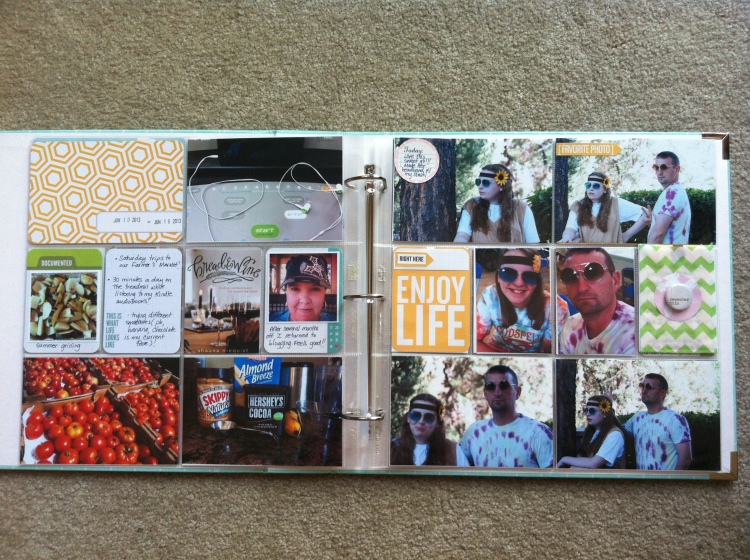
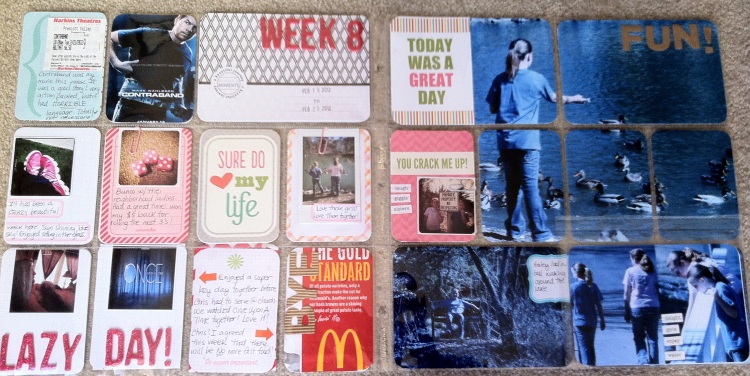
Below is a shot of the entire week’s spread.  I used the back of Design F on the left and good ‘ol trusty Design A on the right.

This week I used multiple Instagram pictures, a picture I snapped with my Instax Mini7S, a picture from my iPhone, as well as pictures using my big camera.  Below is a close-up of the left page.

I really love the design F page.  I love having lots of smaller pockets to work with.  I of course added a picture of my “movie of the week”, along with the ticket stub and a few of my thoughts.  I continue to love using the Martha Stewart labels to add my journaling.  I also used paper clips to attach several of my photos to the journaling card.  My sister uses paper clips quite a bit and I picked up a container of assorted colors at Staples this week.  I love using everyday office supplies on my pages. The “Sure Do Love My Life” card is part of this set that was created by Kristina over at One Happy Mama and her friend Crystal.  The set comes with so many cute downloads!  I purchased the printable set, but she also has a digital set if you do PL digitally.  I used several more on the right side of my page which is shown below.

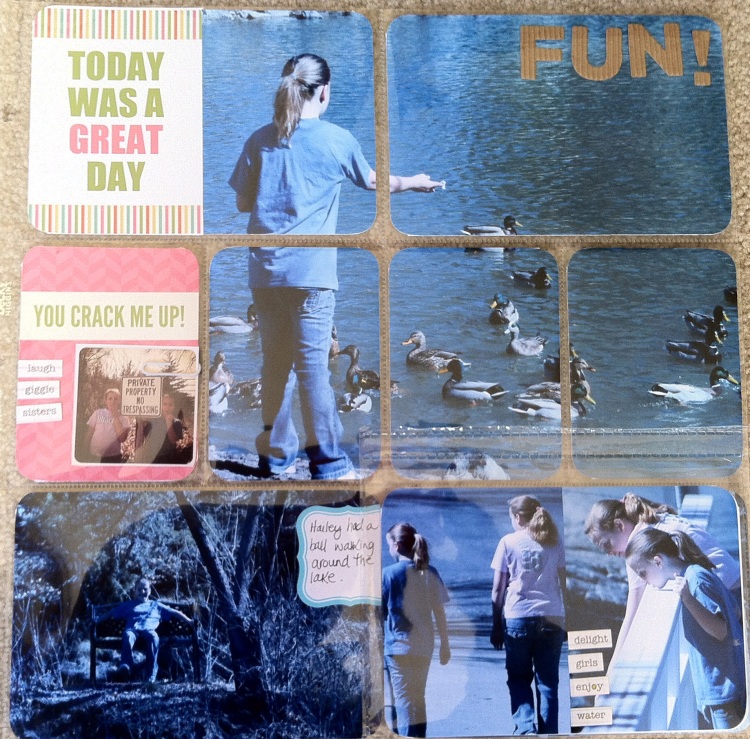
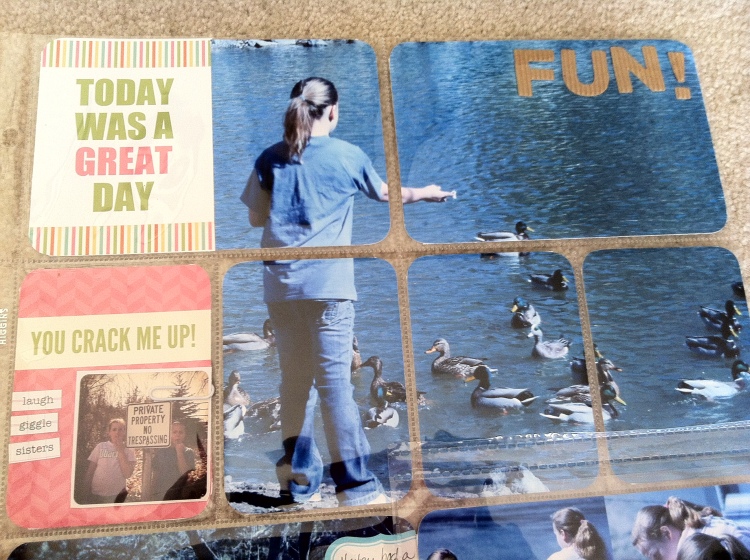
This is my favorite part of my pages this week (and Chris’ too)!  I enlarged a picture I took of Hailey feeding the ducks at the pond behind our house.  It was a gorgeous day so the girls & I walked down & spent some time hanging out by the pond.  I enlarged the photo to 8.5×11 and then trimmed it down to about 8×9.25 to fit into the pockets.  I had seen this done on Kelly Purkey’s pages here and knew that I had to try it.  I will definitely be doing this again!  Below is a close-up.

The “Today Was A Great Day” and the “You Crack Me Up” cards are also from the set that I mentioned above.  I knew that the picture I had of the girls making a “shocked” face standing next to the private property sign would be perfect attached to the “You Crack Me Up!” card.

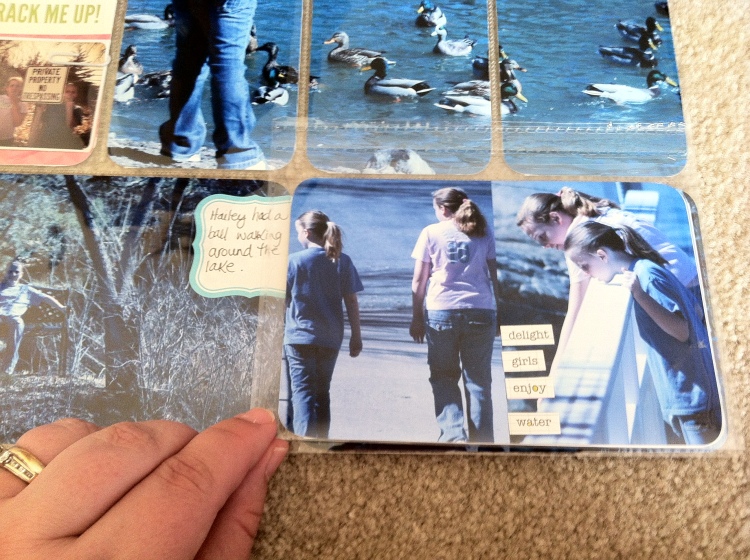
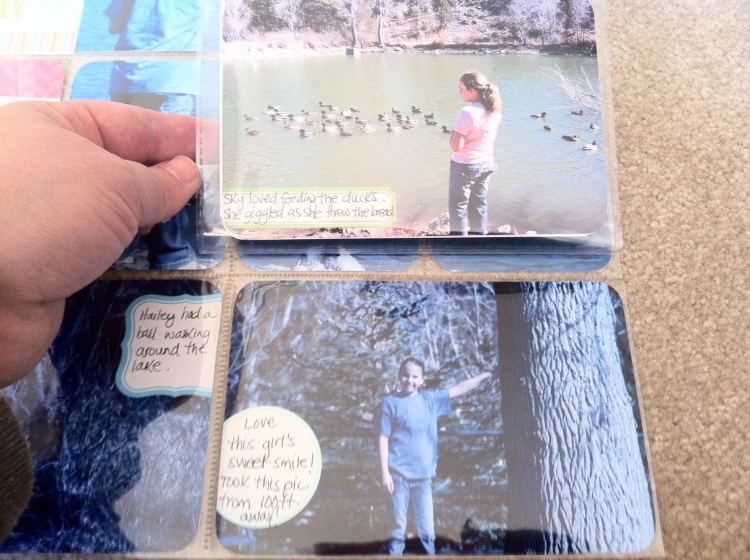
Below is a close-up of the bottom of the right page.

I combined two pictures into a 4×6 using this tutorial by Ali Edwards that I’ve mentioned before.  I also used another one of these flip up protectors to add a couple additional pictures.  The picture below shows what is underneath.

All three labels that were used to journal above come from the Martha Stewart collection found at Staples.

I also plan on adding this post that I shared on my blog this week.  It shows Skylar’s regression into autism in pictures.  Because it is so picture heavy I am trying to figure out how to best include it.  My thought is that it will take 2 of the 6×12 page protectors.  In that post I shared how thankful I am that I have always taken lots of pictures.  It’s not easy to see those pictures, but I am encouraged by the improvement we have seen over the past 10 years.

I also wanted to share a photo of the cool vintage card catalog drawer that I scored from a fun antique place in Phoenix.  As soon as I saw it I knew that I wanted to use it for my PL journal cards.  Removing them from the wooden box in this post, allowed me to free up room in the box for longer items.  I LOVE having all my journal cards in one place.  I’m going to make a fun label for the front with my Silhouette Cameo.  Oh wait…I don’t have one of those.  Oh well…maybe for my birthday!

Here’s a view from the top:

This week I am linking up with both The Mom Creative and One Happy Mama.  If you need more Project Life inspiration click on over there and see what everyone has done.  I’m so thankful for the friends I have made there!

You can see my previous project life posts here.

I hope you all have a wonderful week!

Make it great!

JuJu

Project Life was created by Becky Higgins as a simple solution to documenting your memories.  You can learn more about project life here.
Project Life: Week 4 and Organization

Thank you for stopping by my little blog!  When I shared my Project Life Organization, I had no idea that it would inspire so many.  I am truly humbled!  I recently did a complete overhaul of my craft area.  You can read about how my entire craft area is organized HERE!  You can also follow me on Pinterest HERE!  

I can’t believe that we are four weeks into 2012!  These last 4 weeks have flown by and I’m so thrilled to have them documented using Project Life.  I’m still loving this project, especially the stories I am able to document for our family.

This weekend I decided to do an entire overhaul of my craft area as it is a total mess and I’ve been having difficulty finding what I’m looking for!  It is a huge project and it isn’t anywhere near done but I will share a few photos of my desk and my project life station.

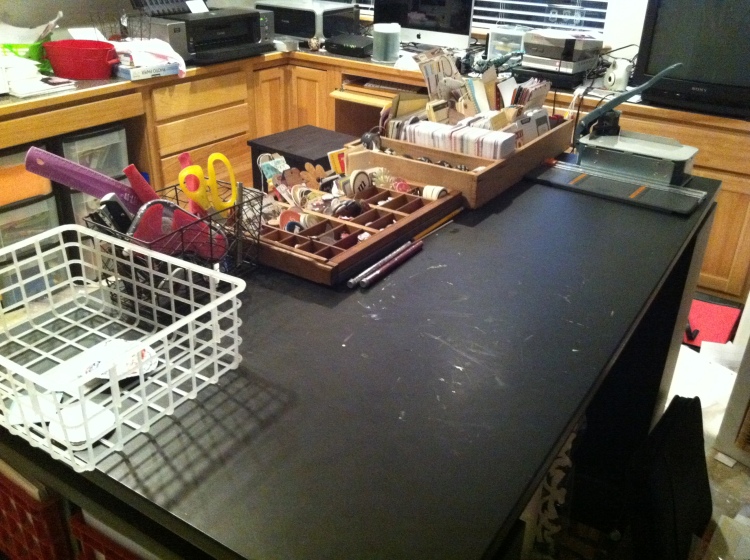
I knew that I wanted to have all my project life core kit components in front of me as I worked.  The above picture is a shot of my desk.  To give you a bit of an idea about the size of the desk, my album fits perfectly in the black area.  I bought this desk about 7 years ago from Pier 1.  It is similar to the desk from Pottery Barn and WAY cheaper.  Not sure if they still have it, but I’ve been really pleased with the quality.  It has been through 3 moves already.

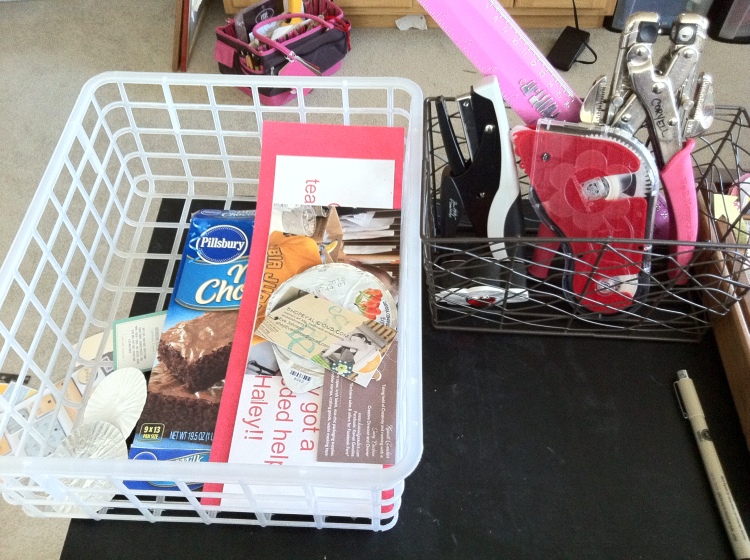
This is the left side of my desk.  It holds this little white basket that I throw all the extras I want to possibly add to my pages.  Next to it is a little metal basked I bought from the dollar spot at Target.  It holds my adhesive, Tim Holtz tiny attacher, scissors, ruler & Crop-a-dile.

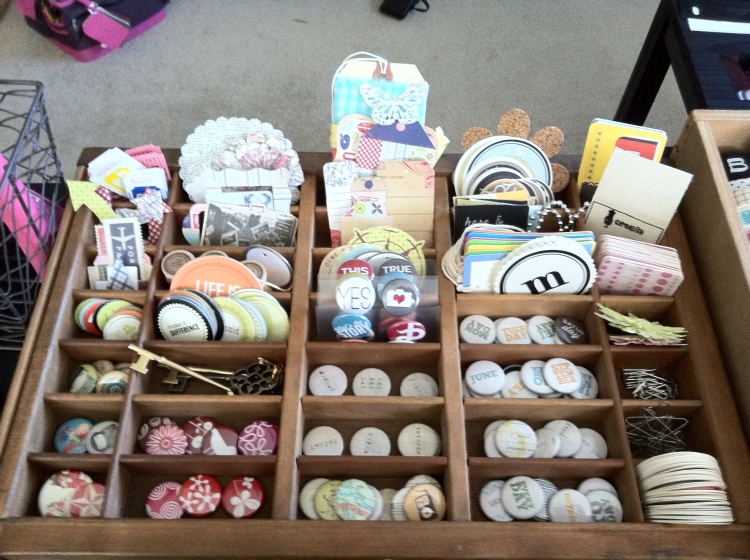
Next to the basket of tools sits this little box.  It is an old letterpress drawer that I’ve had for years.  I kept thinking that I would make a project out of it, but the drawers are pretty small. When I started looking at all my little flair buttons and chipboard pieces I knew that it would work perfectly.  I LOVE having all of these pieces right at my fingertips.  I have always believed that if you can see it, you are way more likely to use it.  This was definitely true this week as I used 9 items from this little drawer. I’m so excited to use my stuff.  Everything in this drawer, except for the flair buttons, are items that I have had for years!

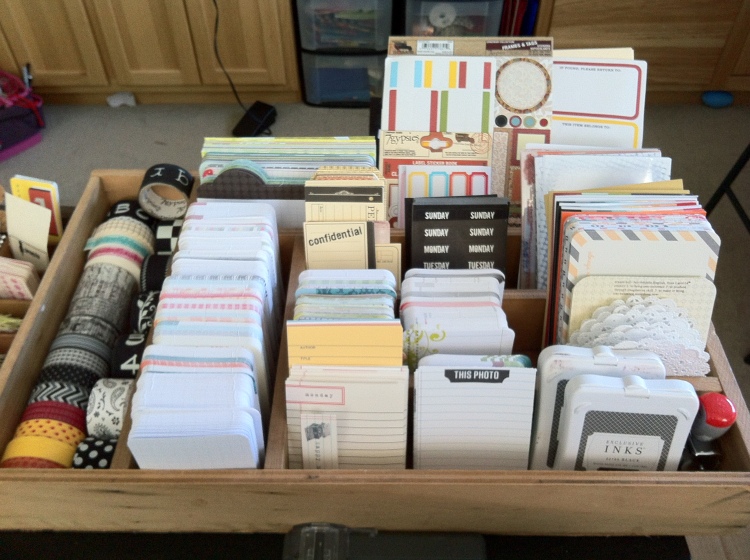
The above picture is of my wooden box that holds all of my project life core kit components as well as my washii tape, gaffer tape, and office labels, etc. in the back. As I’m sure that you have noticed there are a lot of journaling cards and 4×6 inserts.  I actually had the original Project 365 kit that Becky designed for Creating Keepsakes many years ago.  I found this wooden box in my mom’s garage over 5 years ago and have been using it to store various craft items since.  I believe it is an old silverware box.  It fits all the core components perfectly!

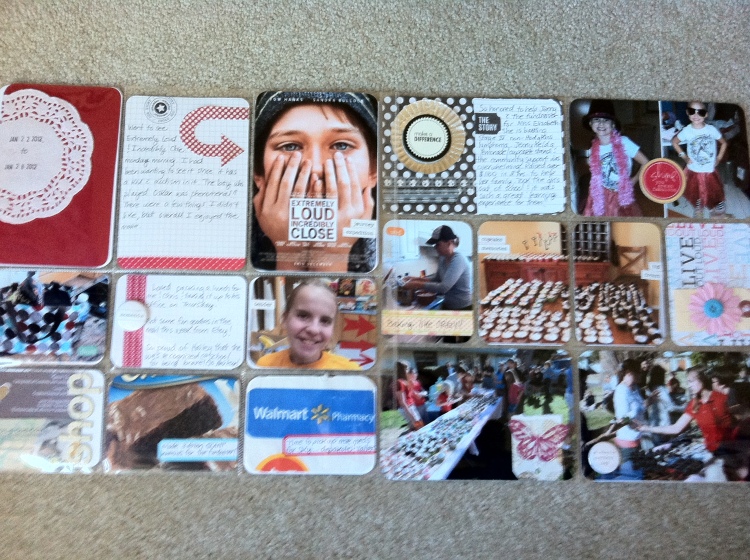
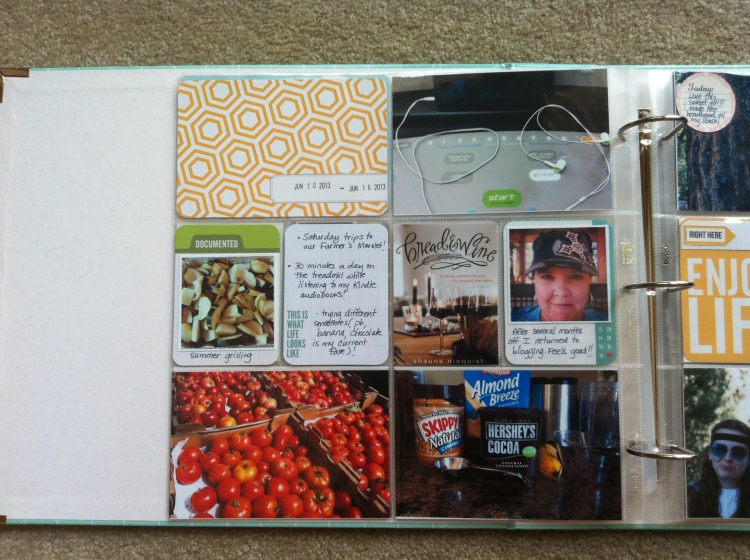
I’m really happy with my PL set up on my desk.  Having everything out in the open and right in front of me made assembling this week’s pages faster and easier than ever.  So onto this weeks pages.  The picture below is a shot of my pages this week, not including the 6×12 insert I added to the middle.

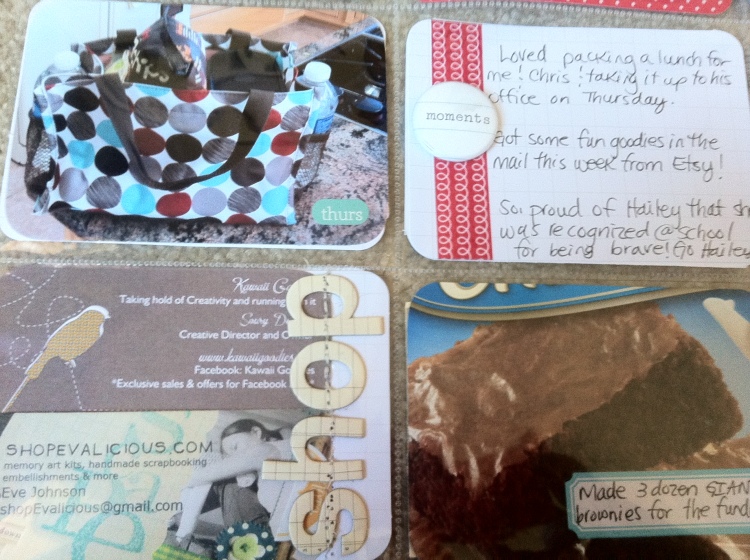
This week I got some goodies in from a couple of Etsy shops, had a picnic with Chris at his office, and made 3 dozen giant brownies for a fundraiser that my sister held.  I love that these couple of pictures and journaling will help me remember those stories.  I also went and saw a movie by myself this week.  I wrote a review about it since it has a kid that is on the autism spectrum.  You can read that post here.
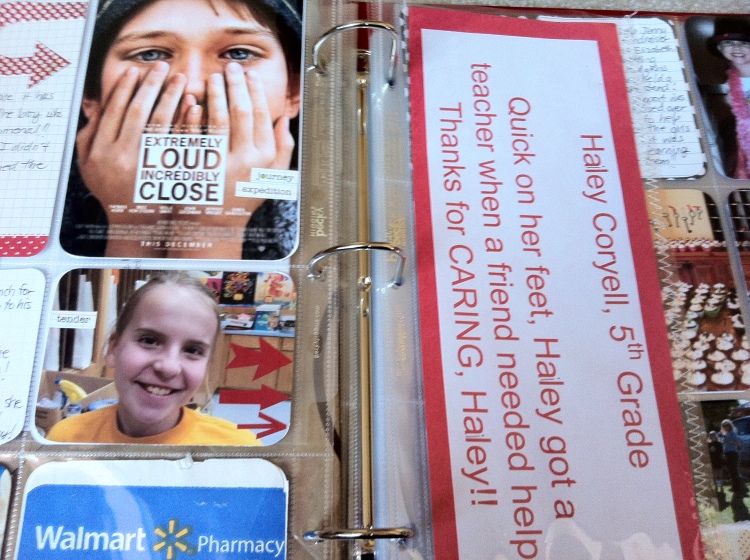
I wanted to add the picture of Hailey and the write-up that was featured on the “Character Counts” bulletin board at school.  I trimmed the picture to fit into one of the small journaling segments and added the red arrows to point to the write-up that I added into a 6×12 page protector.   The write-up wasn’t that big so I stitched right next to the paper & trimmed the page protector down.
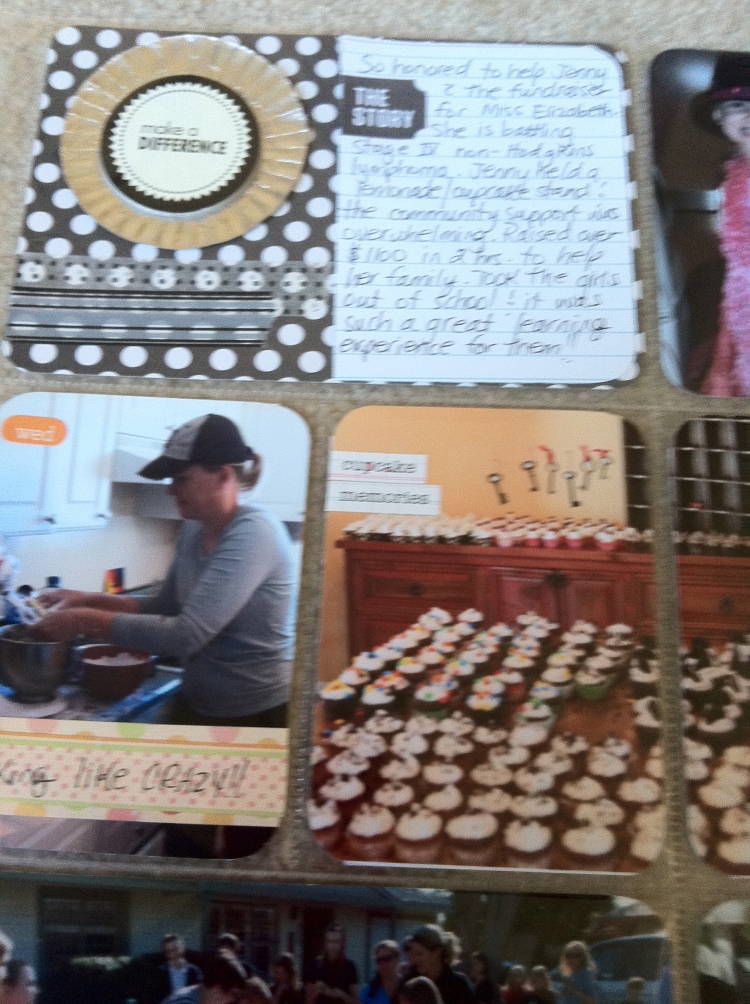
The entire right side of my page this week is devoted to the cupcake fundraiser that I participated in last Wednesday. It was a wonderful experience and i was honored to be a part of it.  My sister organized this wonderful event and you can read about it here on her blog.

This was seriously one of the coolest events I have ever been involved in!

I’m linking up again this week with The Mom Creative and her Project Life Tuesday. If you are looking for more inspiration I definitely recommend checking out the people who link up with her.  I enjoyed visiting their blogs last week and seeing their stories!

I hope you have a great week!  Find a way to tell your story!

Make it a great one!

JuJu

Project Life was created by Becky Higgins as a simple solution to documenting your memories.  You can learn more about project life here.